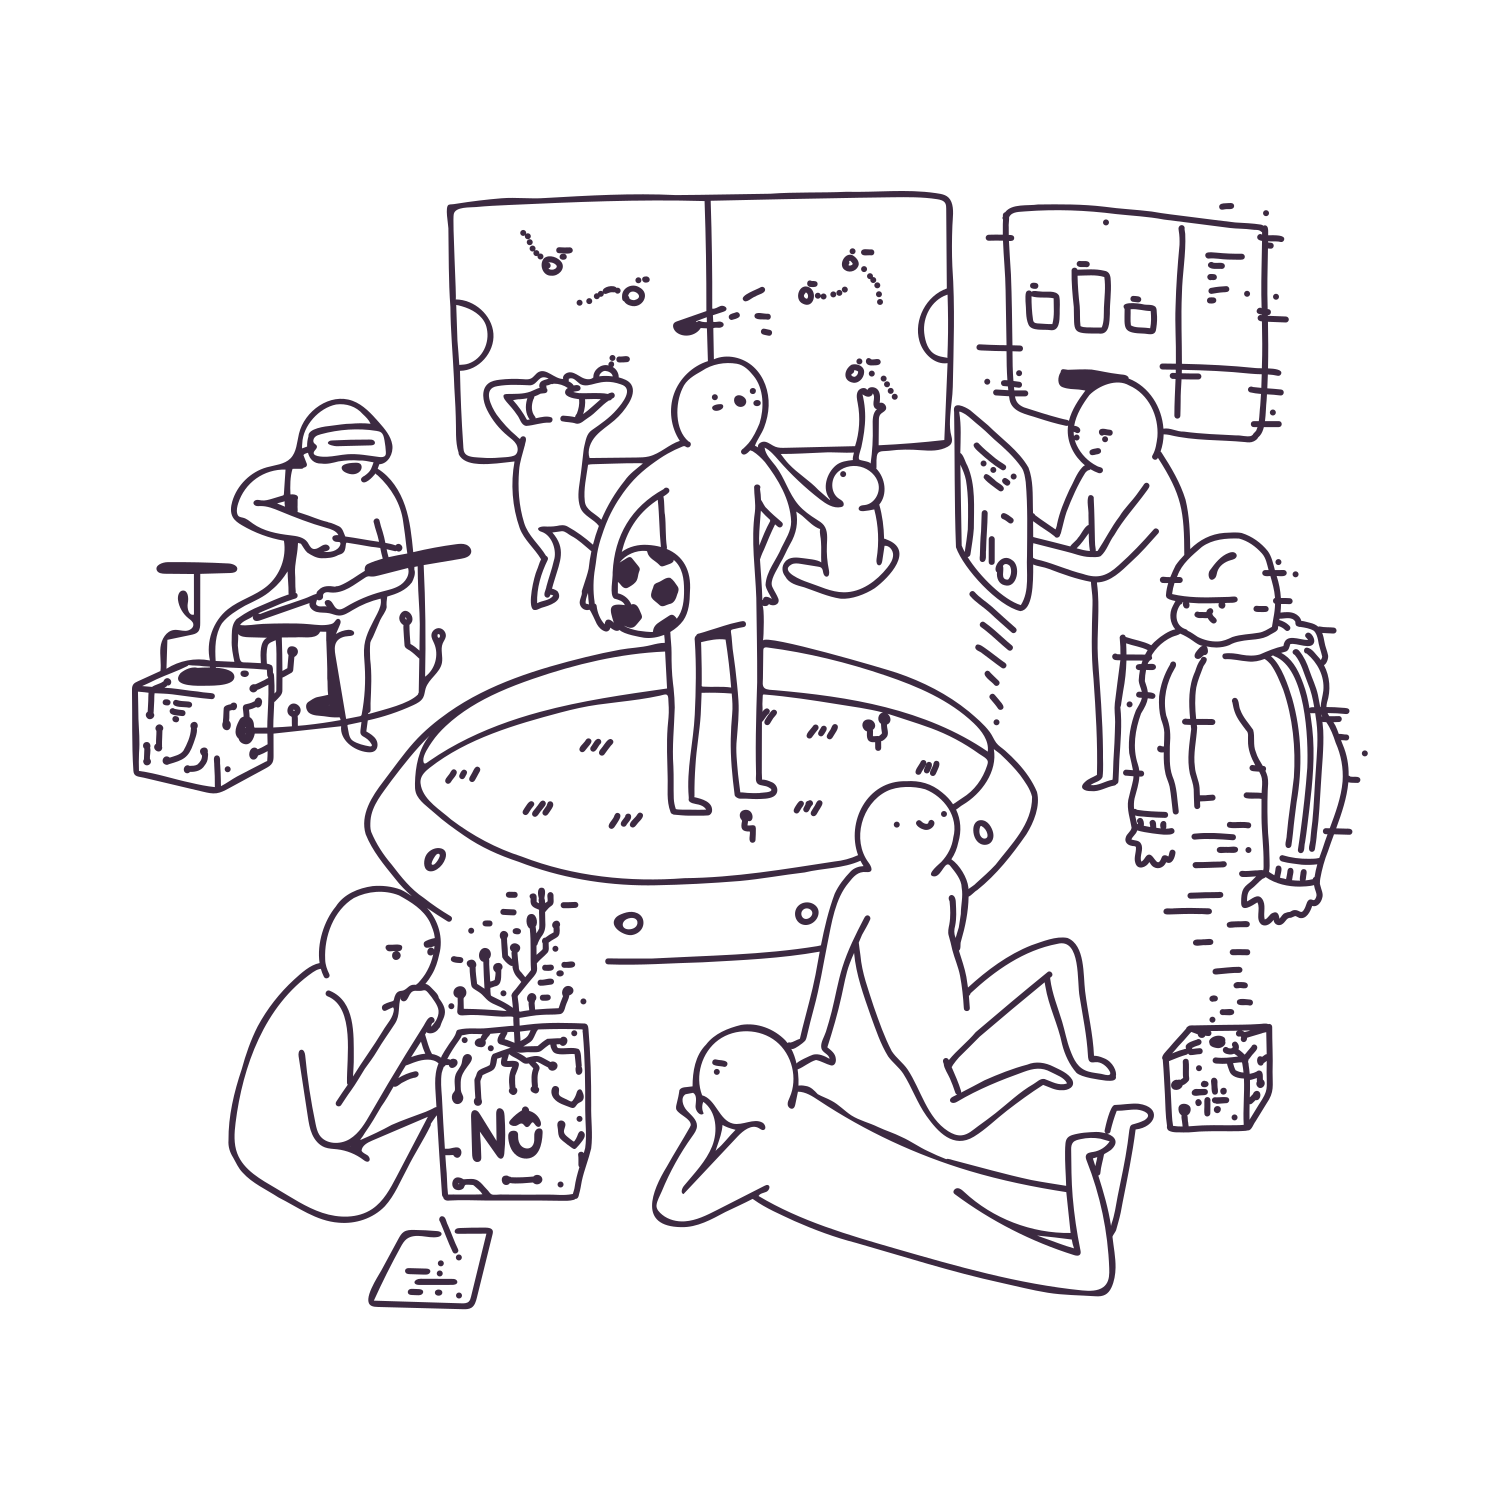
Every now and then what a developer hopes for is a little break from their day-to-day work on the same project. And that’s where a hackathon comes in. In TouK it means two days of carefree (meaning not writing tests and doing code review) coding. You team up with developers from all over the company, find yourself a neat problem (or rather a challenge) to work on and just create a solution from scratch in languages and technologies of choice. That and good company coupled with lots of pizza, snacks, beer and other drinks results in time spent in an atmosphere tingling with fun and inspiration.
Summaries from each team about projects that were created during the first edition of this year’s TouKathon are presented below. Sixteen TouKs have worked on six exciting projects.
Football reflexometer
Authors: Patryk Majkrzak, Filip Michalski
Here at Touk we have a small community of football players. Lately, we were thinking about how to connect the worlds of sport and technology. Our friend Filip came up with the idea to build a football reflexometer – a device that tests your reaction time and shot precision. It’s basically a big polygon with indicators on the wall that light up when you hit them. The player stands in the centre and kicks the ball at the wall as quickly and precisely as he can.
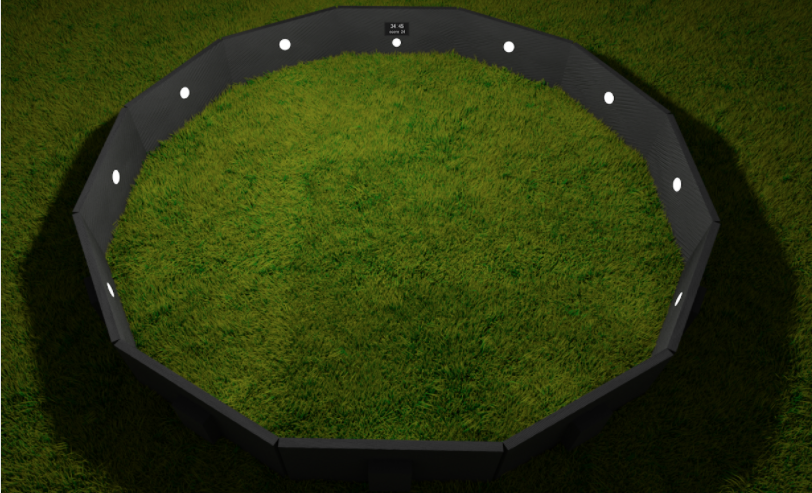 Concept render
The basic version of our contraption would simply detect which wall has been hit and how quickly the player reacted. However, we thought that it would be fun to detect exactly where the point of impact was. We thought we could do this by triangulating the sensor data using cheap piezo discs which we glued to the corners of the office desk serving as a ‘wall’ (the ’hack’ in ‘hackathon’ is there for a reason).
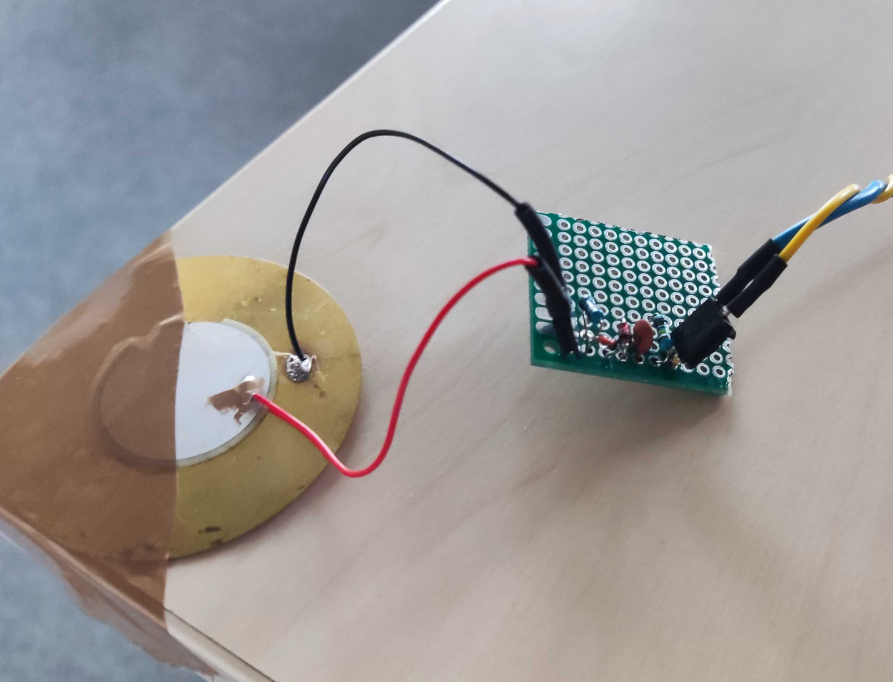 Piezo disc with detector circuit
We soon found out, however, that the piezo response has both too high a voltage and is too noisy for our Arduino, so we developed a simple peak detector with a Zener diode for protection from overvoltage.
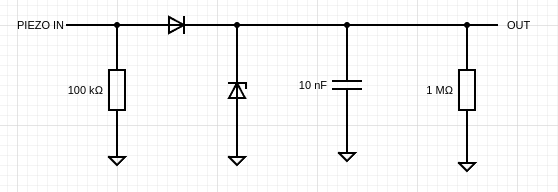
Circuit schematics
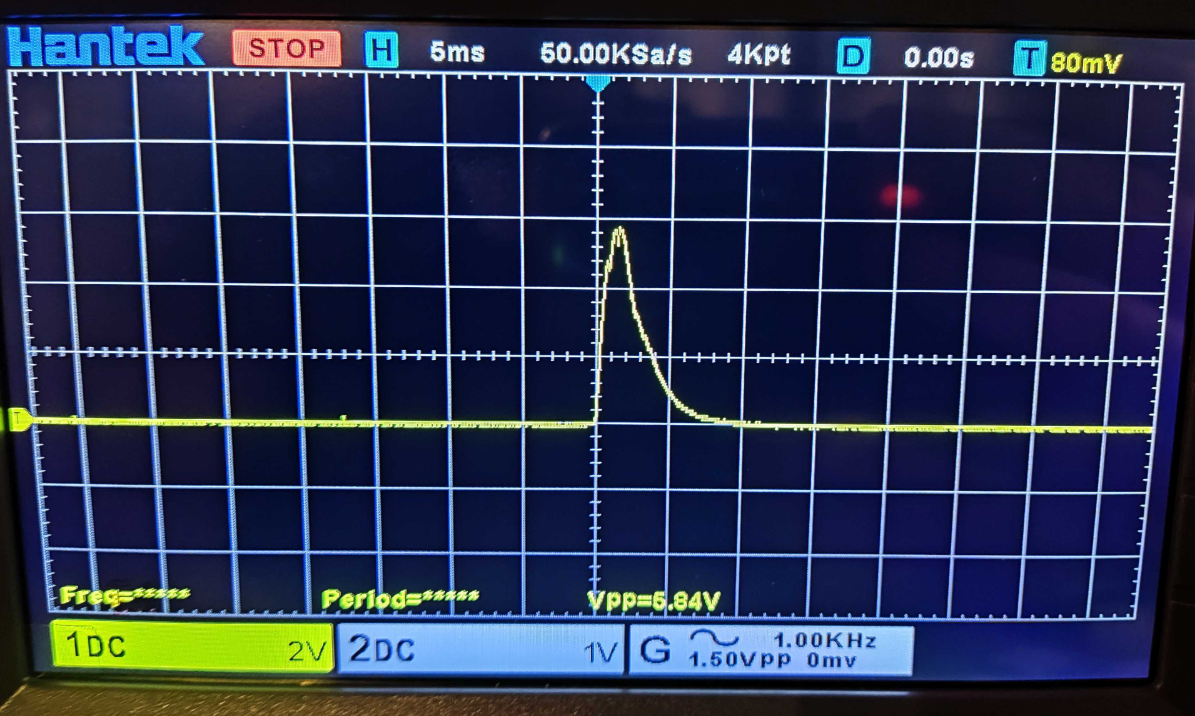 Example of a response
Sadly, after we connected everything up we found out that our microcontroller (16MHz Arduino Uno) is too slow to detect a difference in time of arrival of a sound wave. After some calculations, we concluded that at this speed our triangulation data would have too little precision to get anything meaningful out of it. In the future we want to change the microcontroller to a Teensy 4.1, which is approximately 40 times faster and would give us sub-centimetre precision, opening up possibilities for other sports like archery.
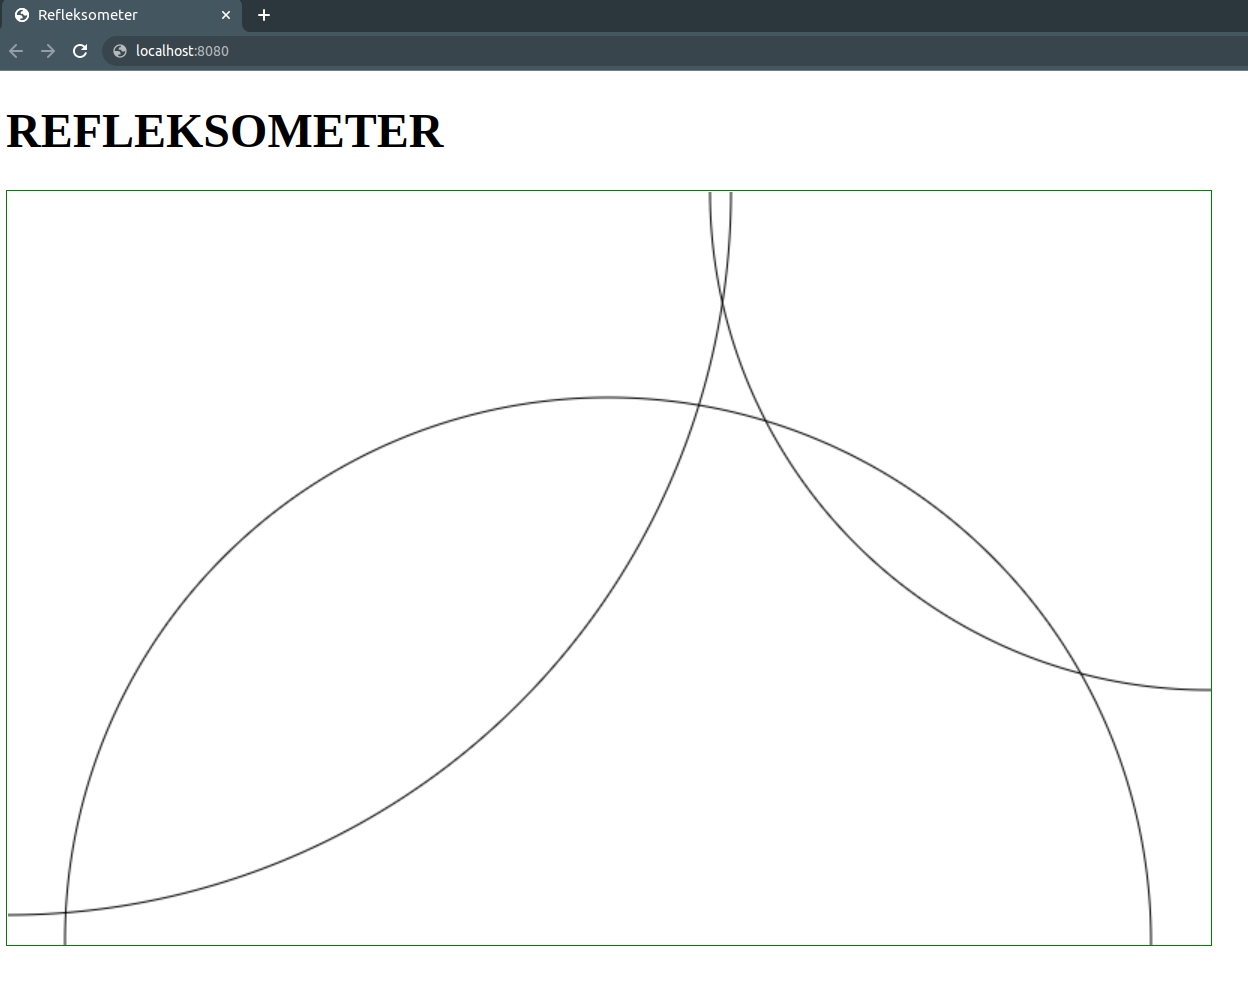 Our simulation app
We also developed a simple app that takes a simulated ideal signal from a microcontroller and simulates how the sound waves propagate in the wall. We learned a lot in those two days and are excited to develop our project into something really great in the future.
Sebix @ Slack
Authors: Piotr Jagielski, Damian Święcki
We always dreamt about having a custom tailor-made bot on our communication channel. The journey started in 2015 when we built Janusz, which understood three basic commands. Janusz is a popular Polish meme participant, so for the sake of consistency we named our next attempt Sebix, after a nickname for an archetypal young male wearing sportswear and listening to dance music. During the previous hackathon, we managed to build it around Rocket.Chat that we were using at TouK in those days. However, in response to a number of requests, we’ve since moved our communication to Slack, so the next hackathon was a perfect time to move Sebix to Slack.
Currently, we have the following features implemented. You can:
- Check how much holiday time you have left.
- Set a reminder for a given task.
- Log some work on a task and list previous logs.
- Check the numbers to call to open our office gate.
- Share a link to recent football highlights of your favourite team.
These were implemented using a simple “on message” Slack API. But we also managed to dig into Slack Apps API and built a more complicated command using a Bolt API and Block Kit for UI controls. The command lets you define a list of addresses for which you can check the travel time from our office at 9 Bohaterów Września Street:
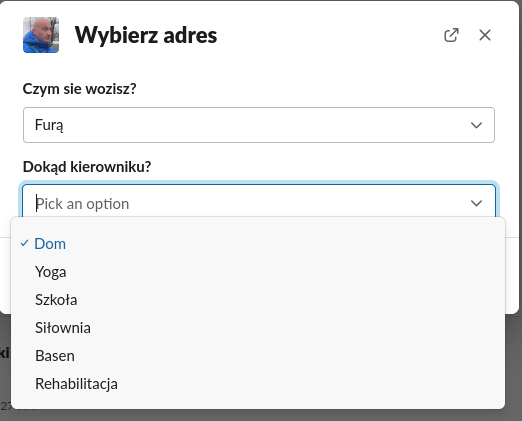
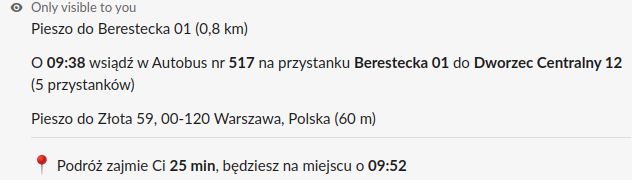
The project was built using Bolt for Kotlin, PostgreSQL and deployed on our internal cloud using Docker and Kubernetes.
More features are on the way!
Shots
Authors: Katarzyna Machowina, Monika Ruszczyk, Ula Trzaskowska, Przemek Bełczyk, Piotr Fus
Flashtalks are mini-conferences that we organise here at TouK. Each month three TouKs give a brief talk about an interesting concept from the IT world.
To make things more interesting, before the talk every speaker comes up with a single choice question. All those questions are then gathered in a Google Forms quiz and sent to participants at the end of a Flashtalks session.
So our hackathon team was wondering whether those quizzes could be even more fun. Definitely so, if we enrich them with some competitive spirit! This was achieved in two days thanks to a solution we called Shots (the name is a pun related to the name Flashtalks – in Polish we call Flashtalks “flaszki”, which means “bottles of liquor”).
The Shots project consists of two apps – one for the admin (Flashtalks organiser) and one for clients (Flashtalk attendees).
The idea is that the admin presents (e.g. on a shared screen) a question with possible answers. Participants have 15 seconds to select the correct answer on their devices with a client app. After each question the admin can show and summarise results for the completed question along with the names of the top responders. When all questions have been answered, the usernames of quiz champions are displayed on a podium, which is then flooded with triumphant confetti. And that concludes the Flashtalks, leaving winners with a sense of achievement and all others eager to participate in the next edition of the quiz.
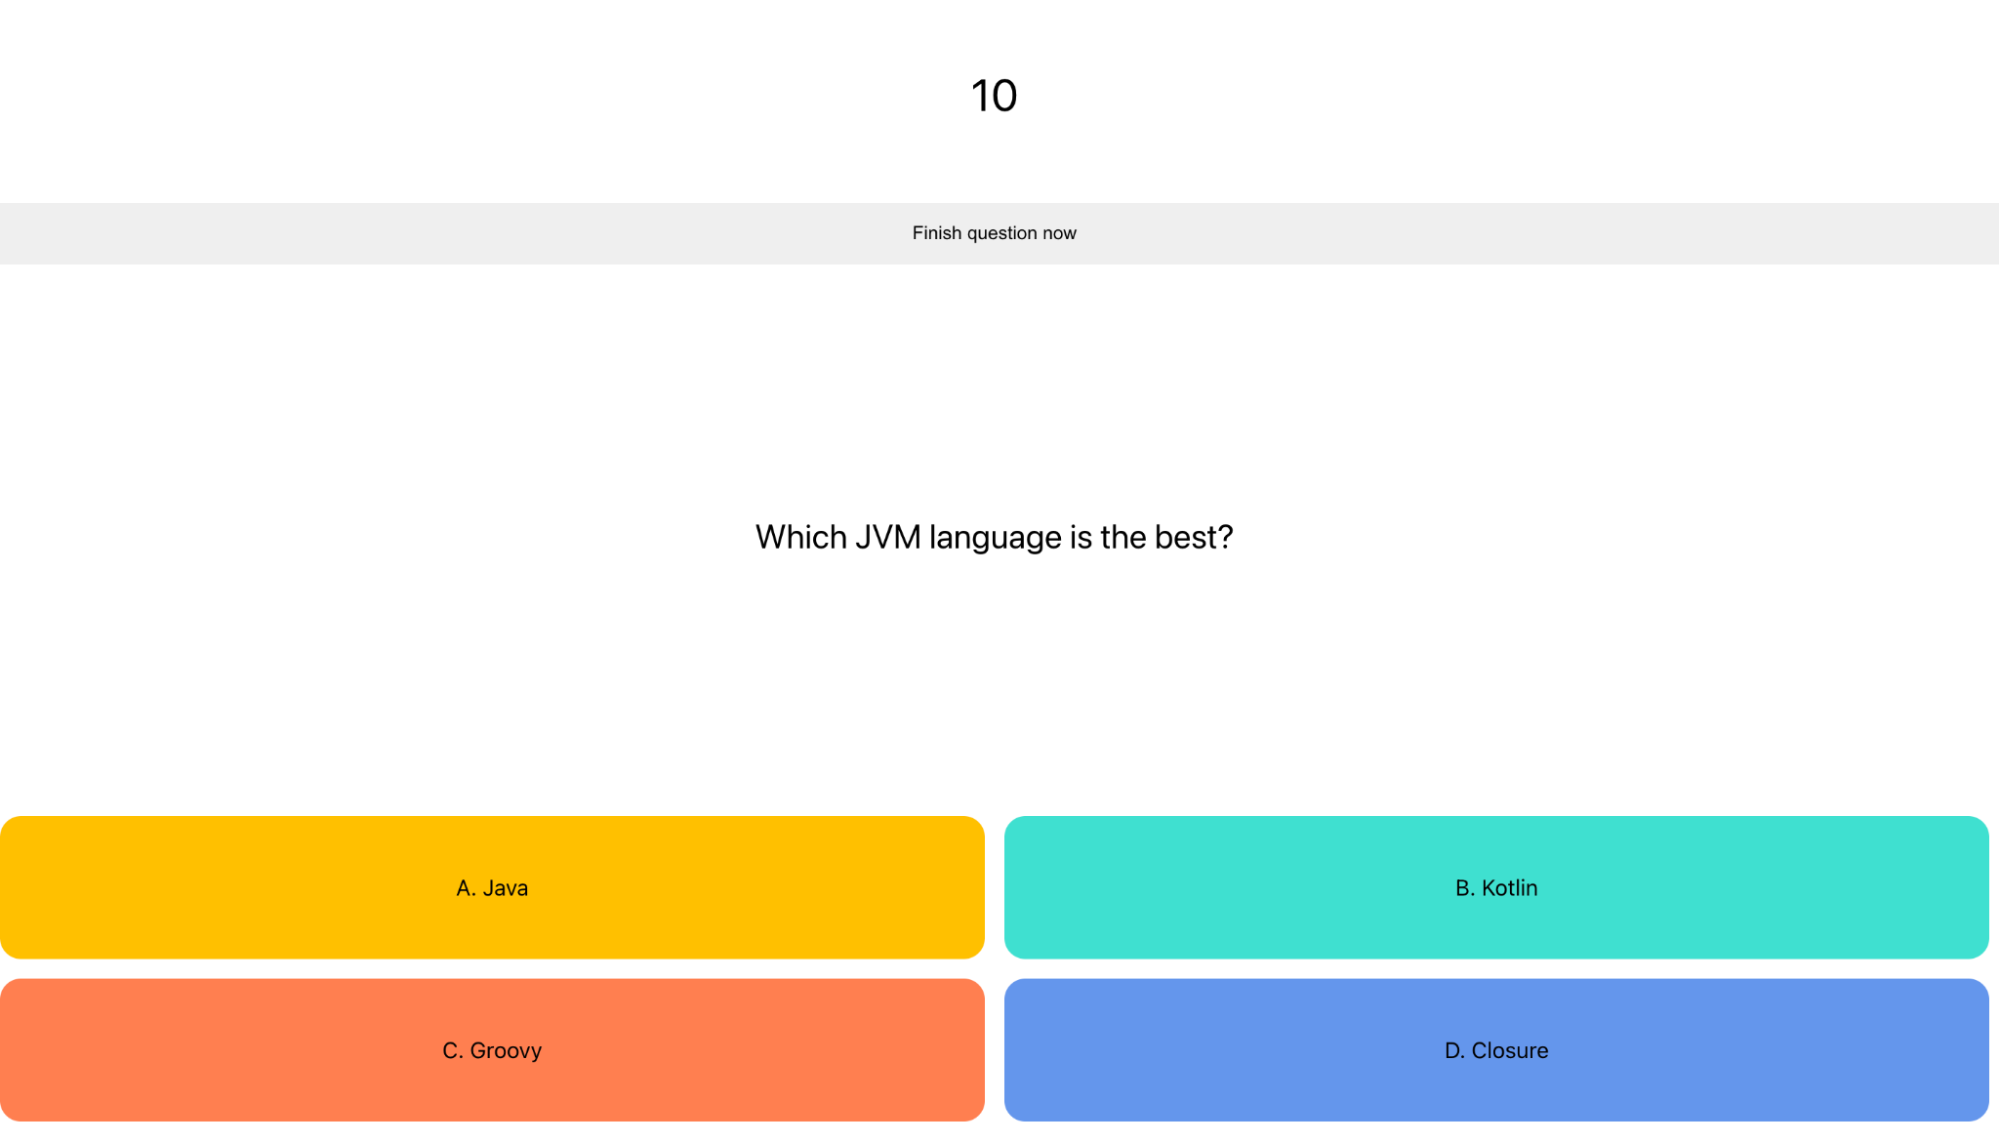 Admin app: Question screen
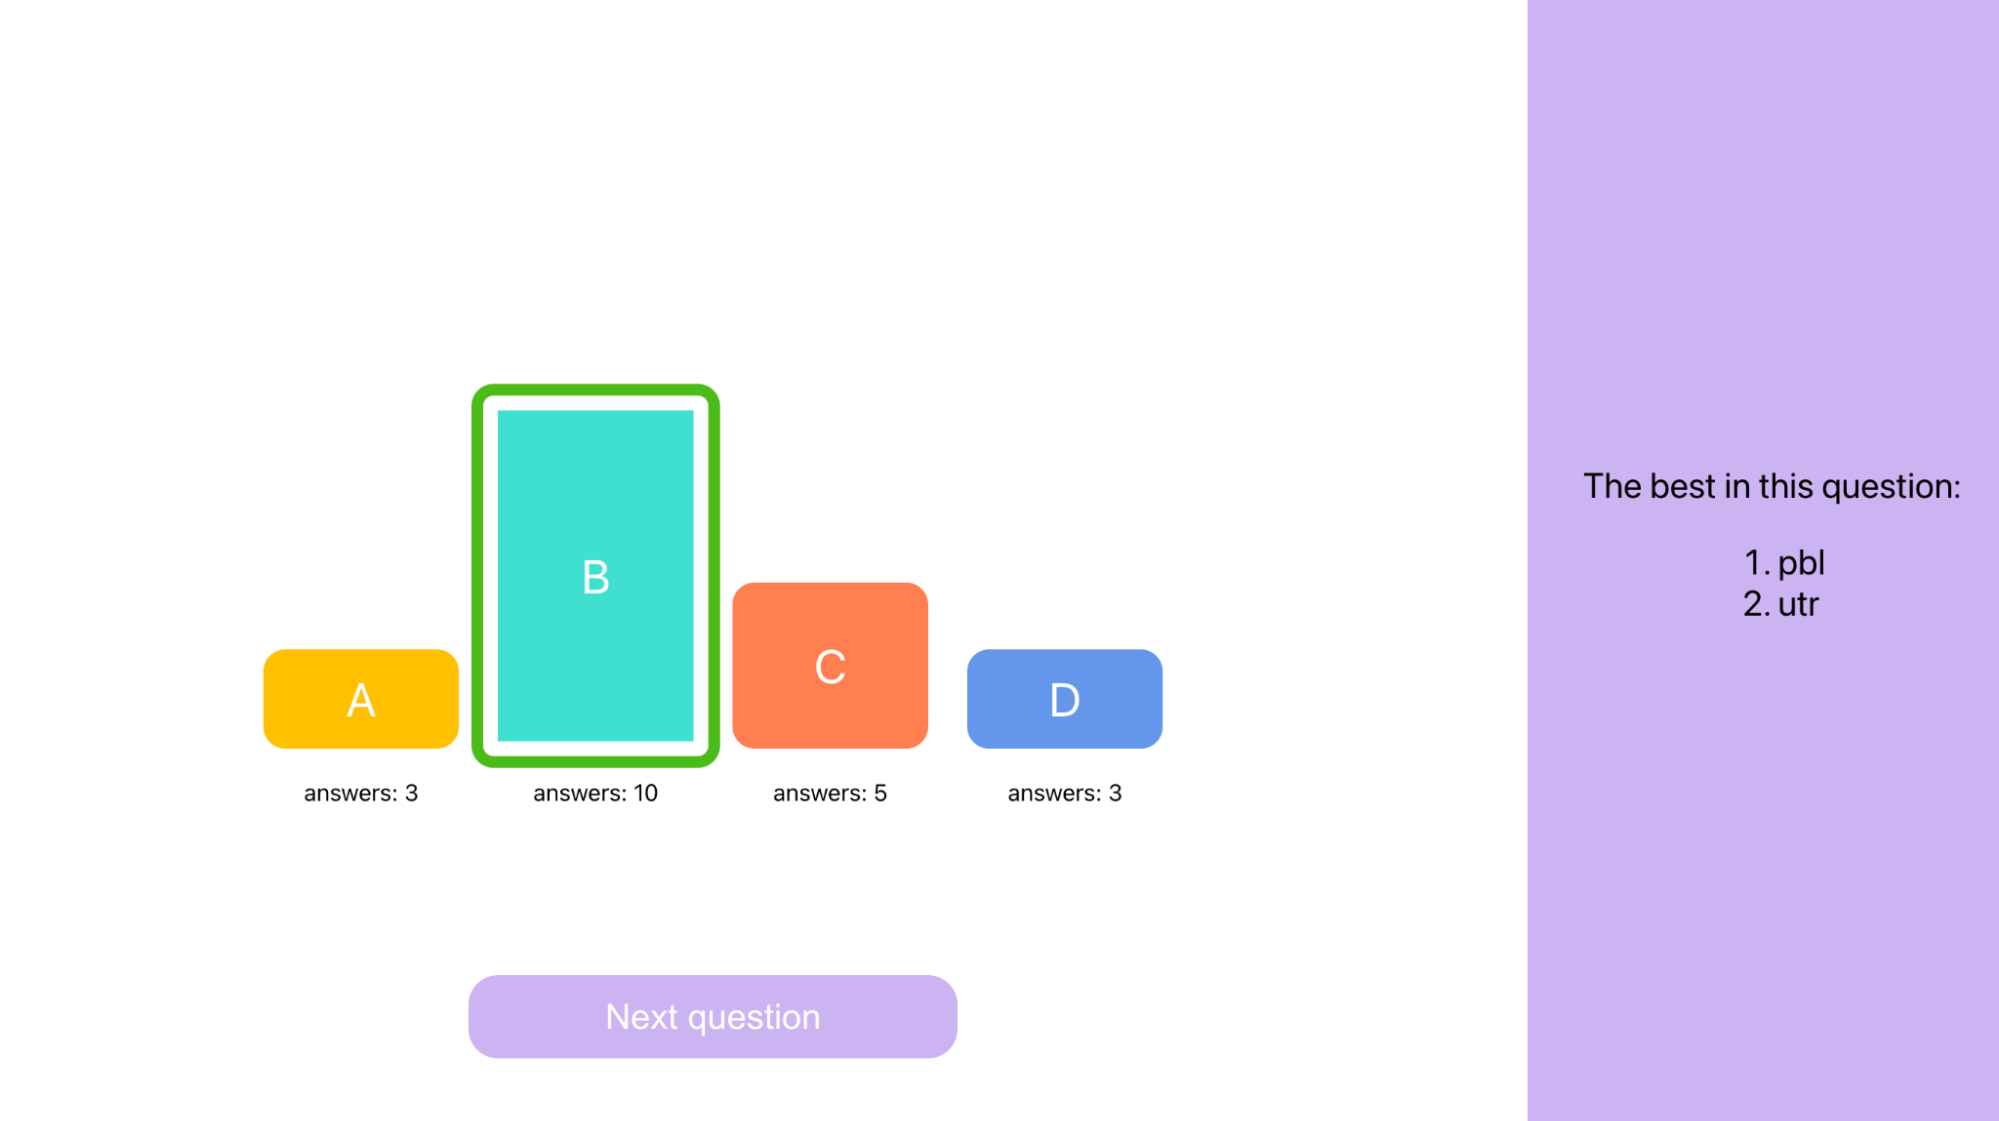 Admin app: Question results screen
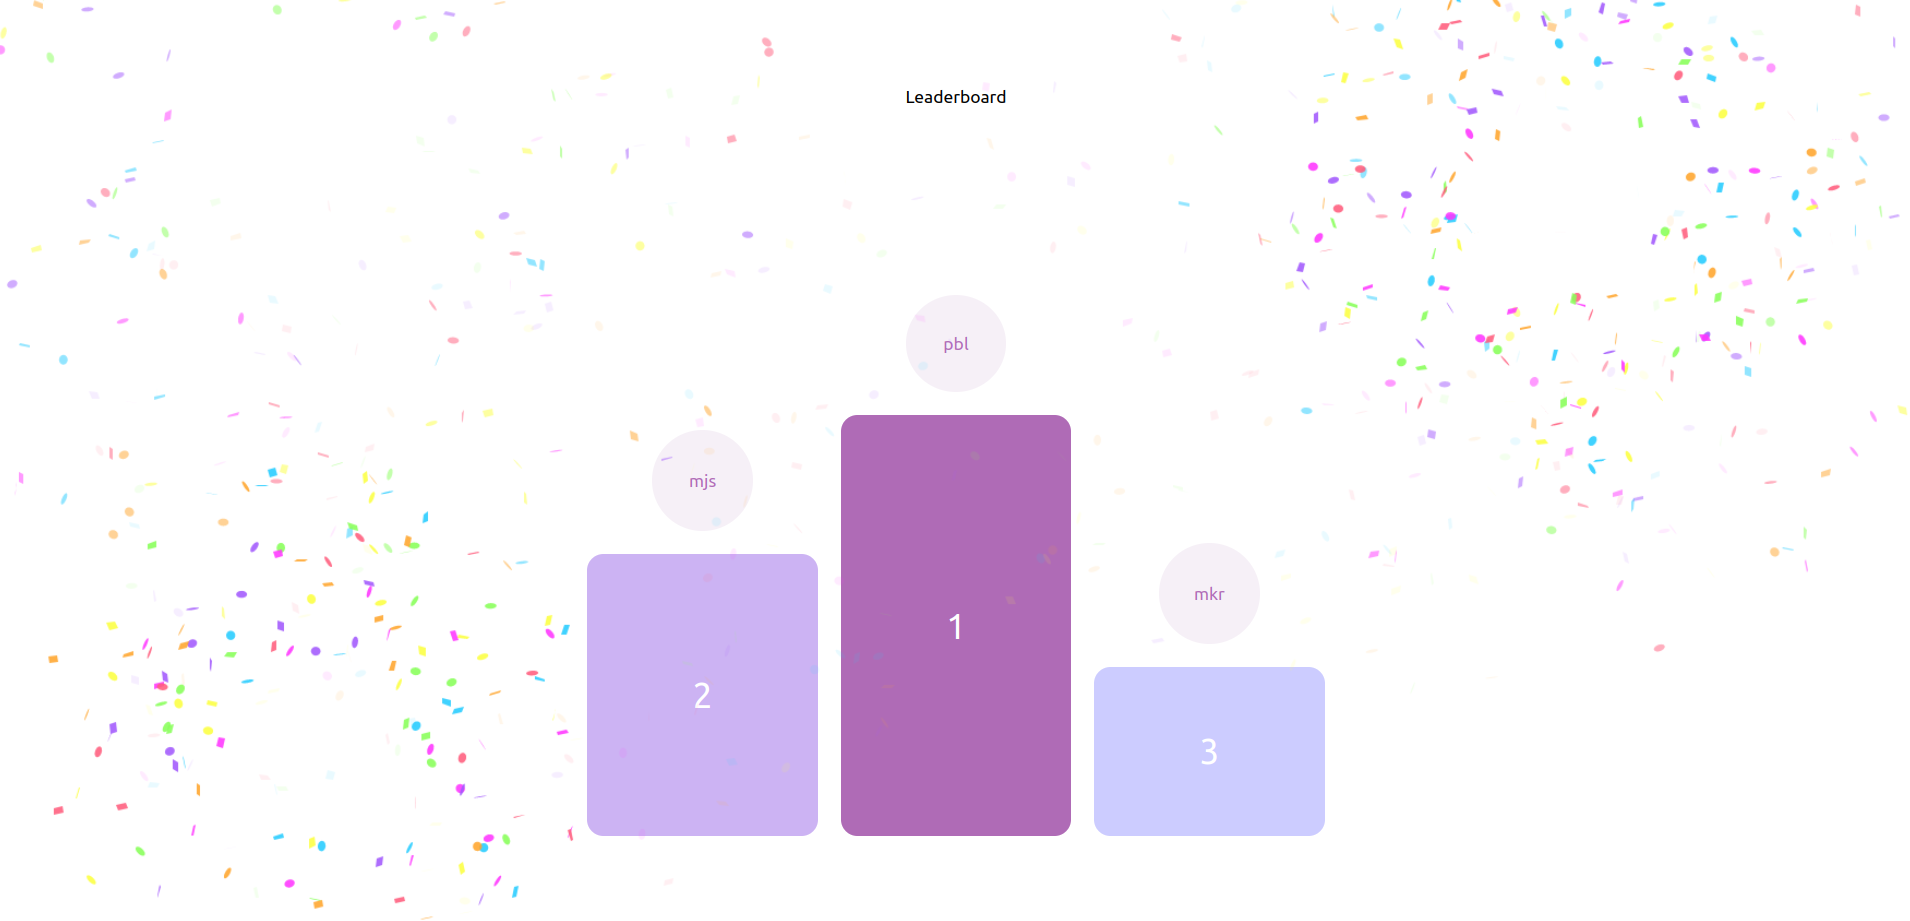 Admin app: Final quiz leaderboard
We wanted to easily communicate with client apps without the need for client polling. The ability to send the next question to all clients as soon as the admin displays it was paramount. That was achieved with WebSockets (backend and frontend), a technology we learned during the hackathon. Coding on the backend was a breeze thanks to our beloved Kotlin language along with Spring Boot. Our quiz and participants data is stored safely on a MySQL database run in a Docker container. A seamless user experience was provided with React (special thanks to react-canvas-confetti library).
Hopefully, Shots will soon be deployed to production where they will shine bright after every Flashtalk to come.
NLP @ Nussknacker
Authors: Rafał Solarski, Tomasz Wielga
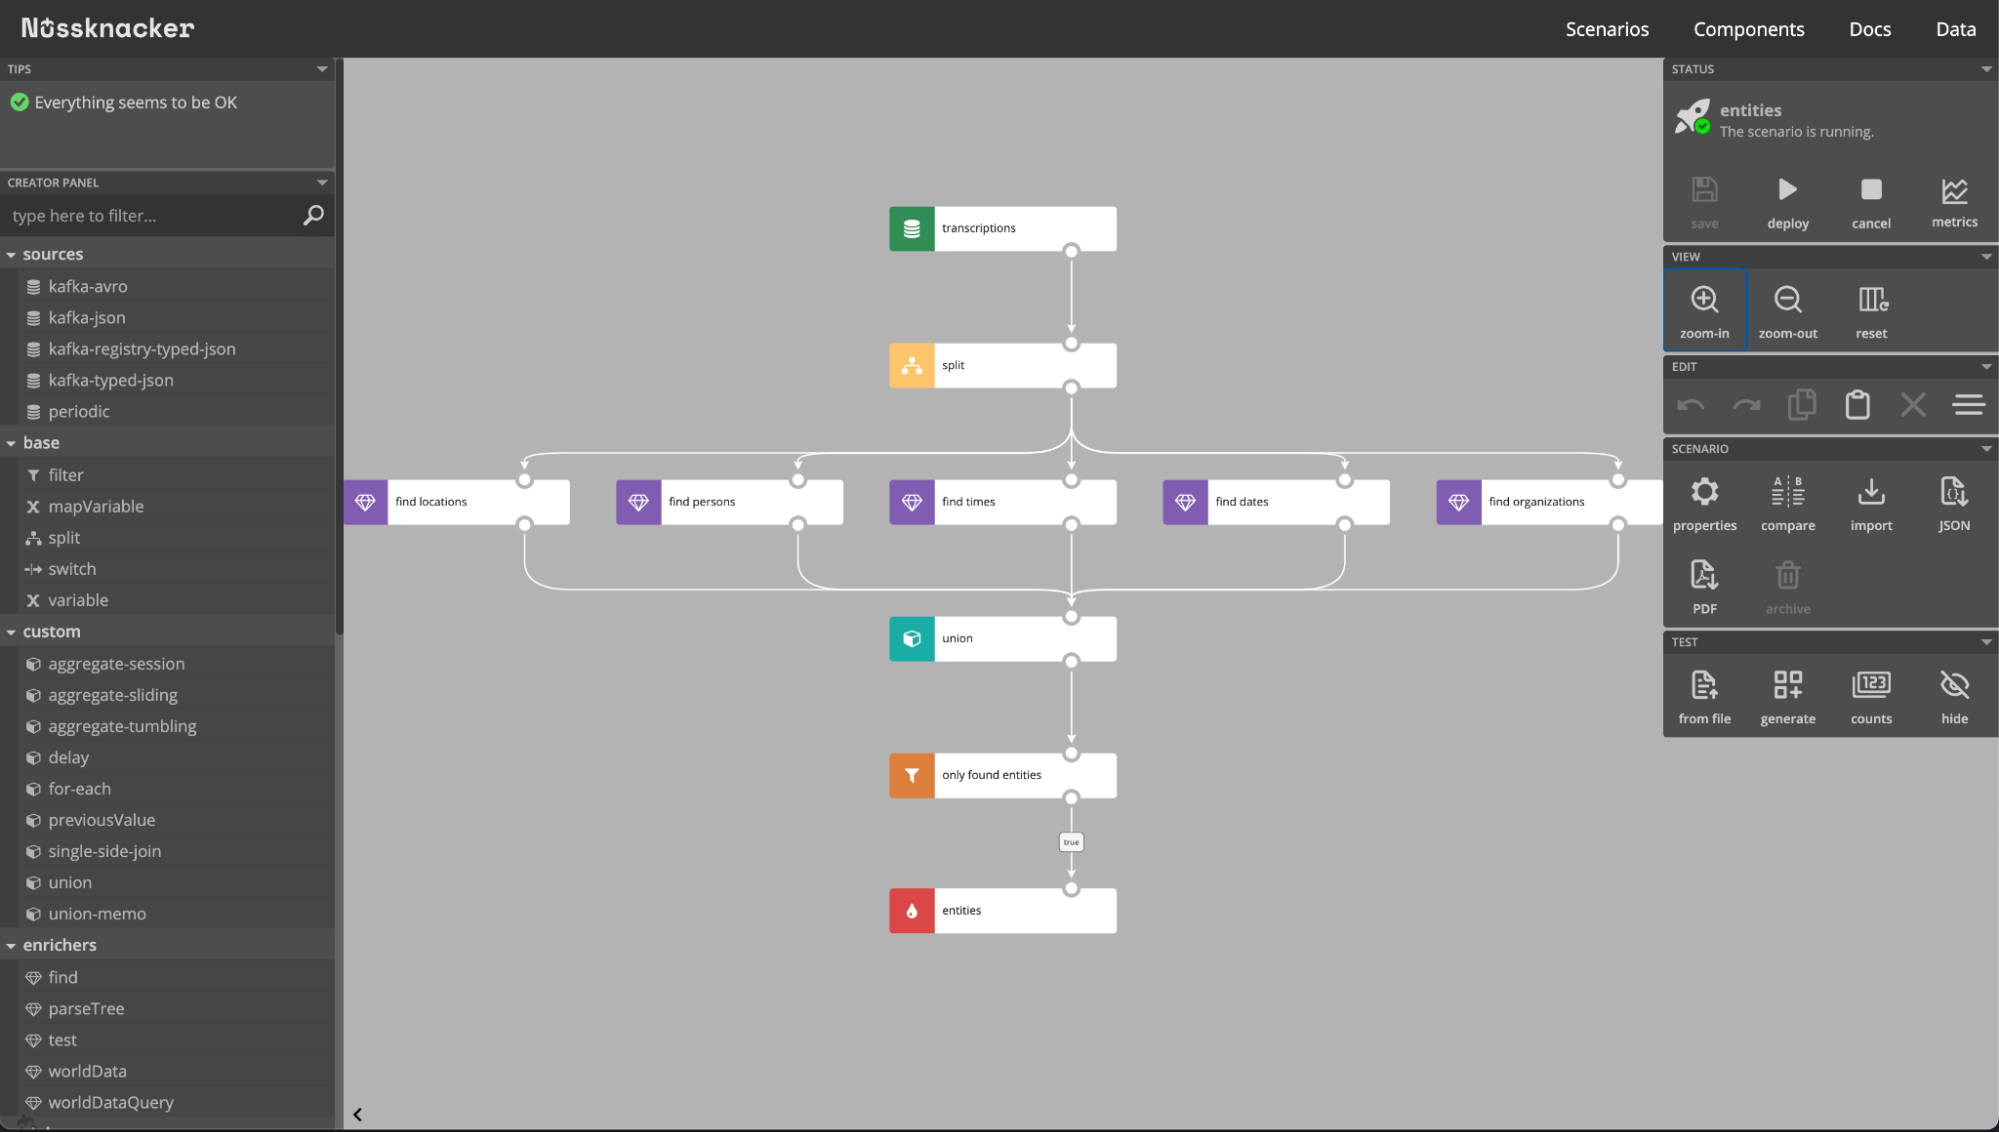
The Nussknacker NLP project was an attempt to bring NLP abilities to diagrams of our Code-Less Tool (or codeless tool). During the hackathon we checked OpenNLP capabilities and integrated them as enrichment components to use on incoming calls transcriptions. To increase the fun factor we didn’t do any research before the day of the hackathon. Which is probably why a few times we hit a brick wall thanks to our foggy understanding of what is possible and what is not. In the end, we came up with Named Entity Recognition/Semantic Trees features and lots of ideas for the future.
DIY Drum Kit
Authors: Bartłomiej Tartanus, Rafał Golcz, Wojciech Decker
Here at Touk, we like to be eco and we like to play Guitar Hero. With this in mind, we collected a piece of plywood, some foam fillings and an Arduino to build our own electronic drum kit.
At its heart there’s a piezoelectric sensor that can convert force into electrical charge. With a few electronic components the signal generated by piezo is conditioned to be received by Arduino. In the basic setup, Arduino checks whether a signal on each channel is above some threshold and sends a signal to the laptop. In the extended version, Arduino can send MIDI signals and the whole device becomes an electronic drum kit. MIDI commands have a “velocity” parameter which directly corresponds to the force you will use when hitting a drum.
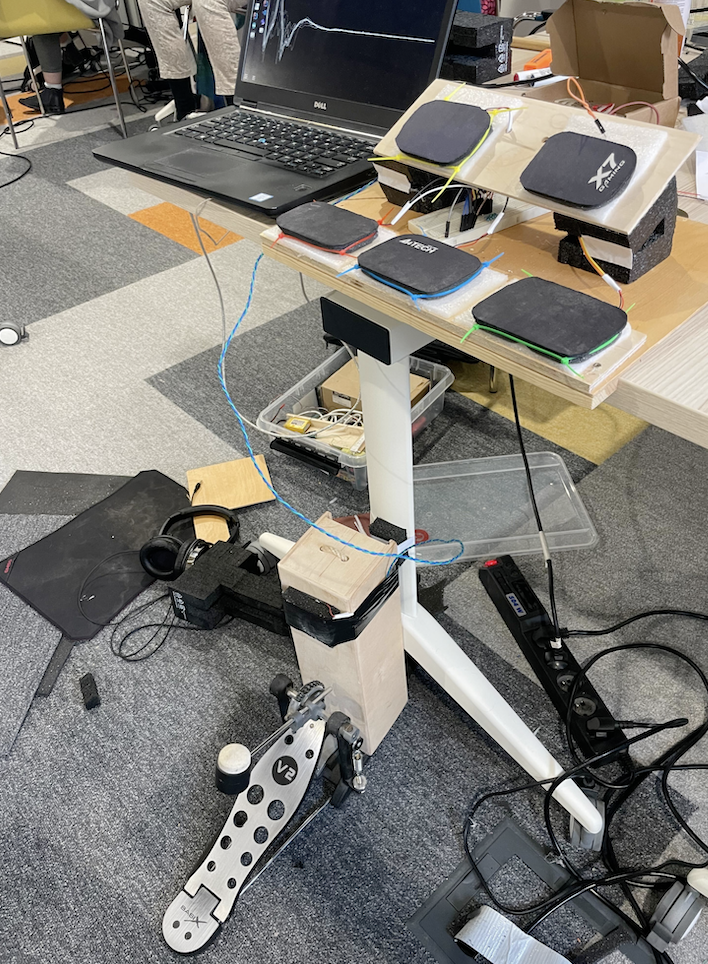
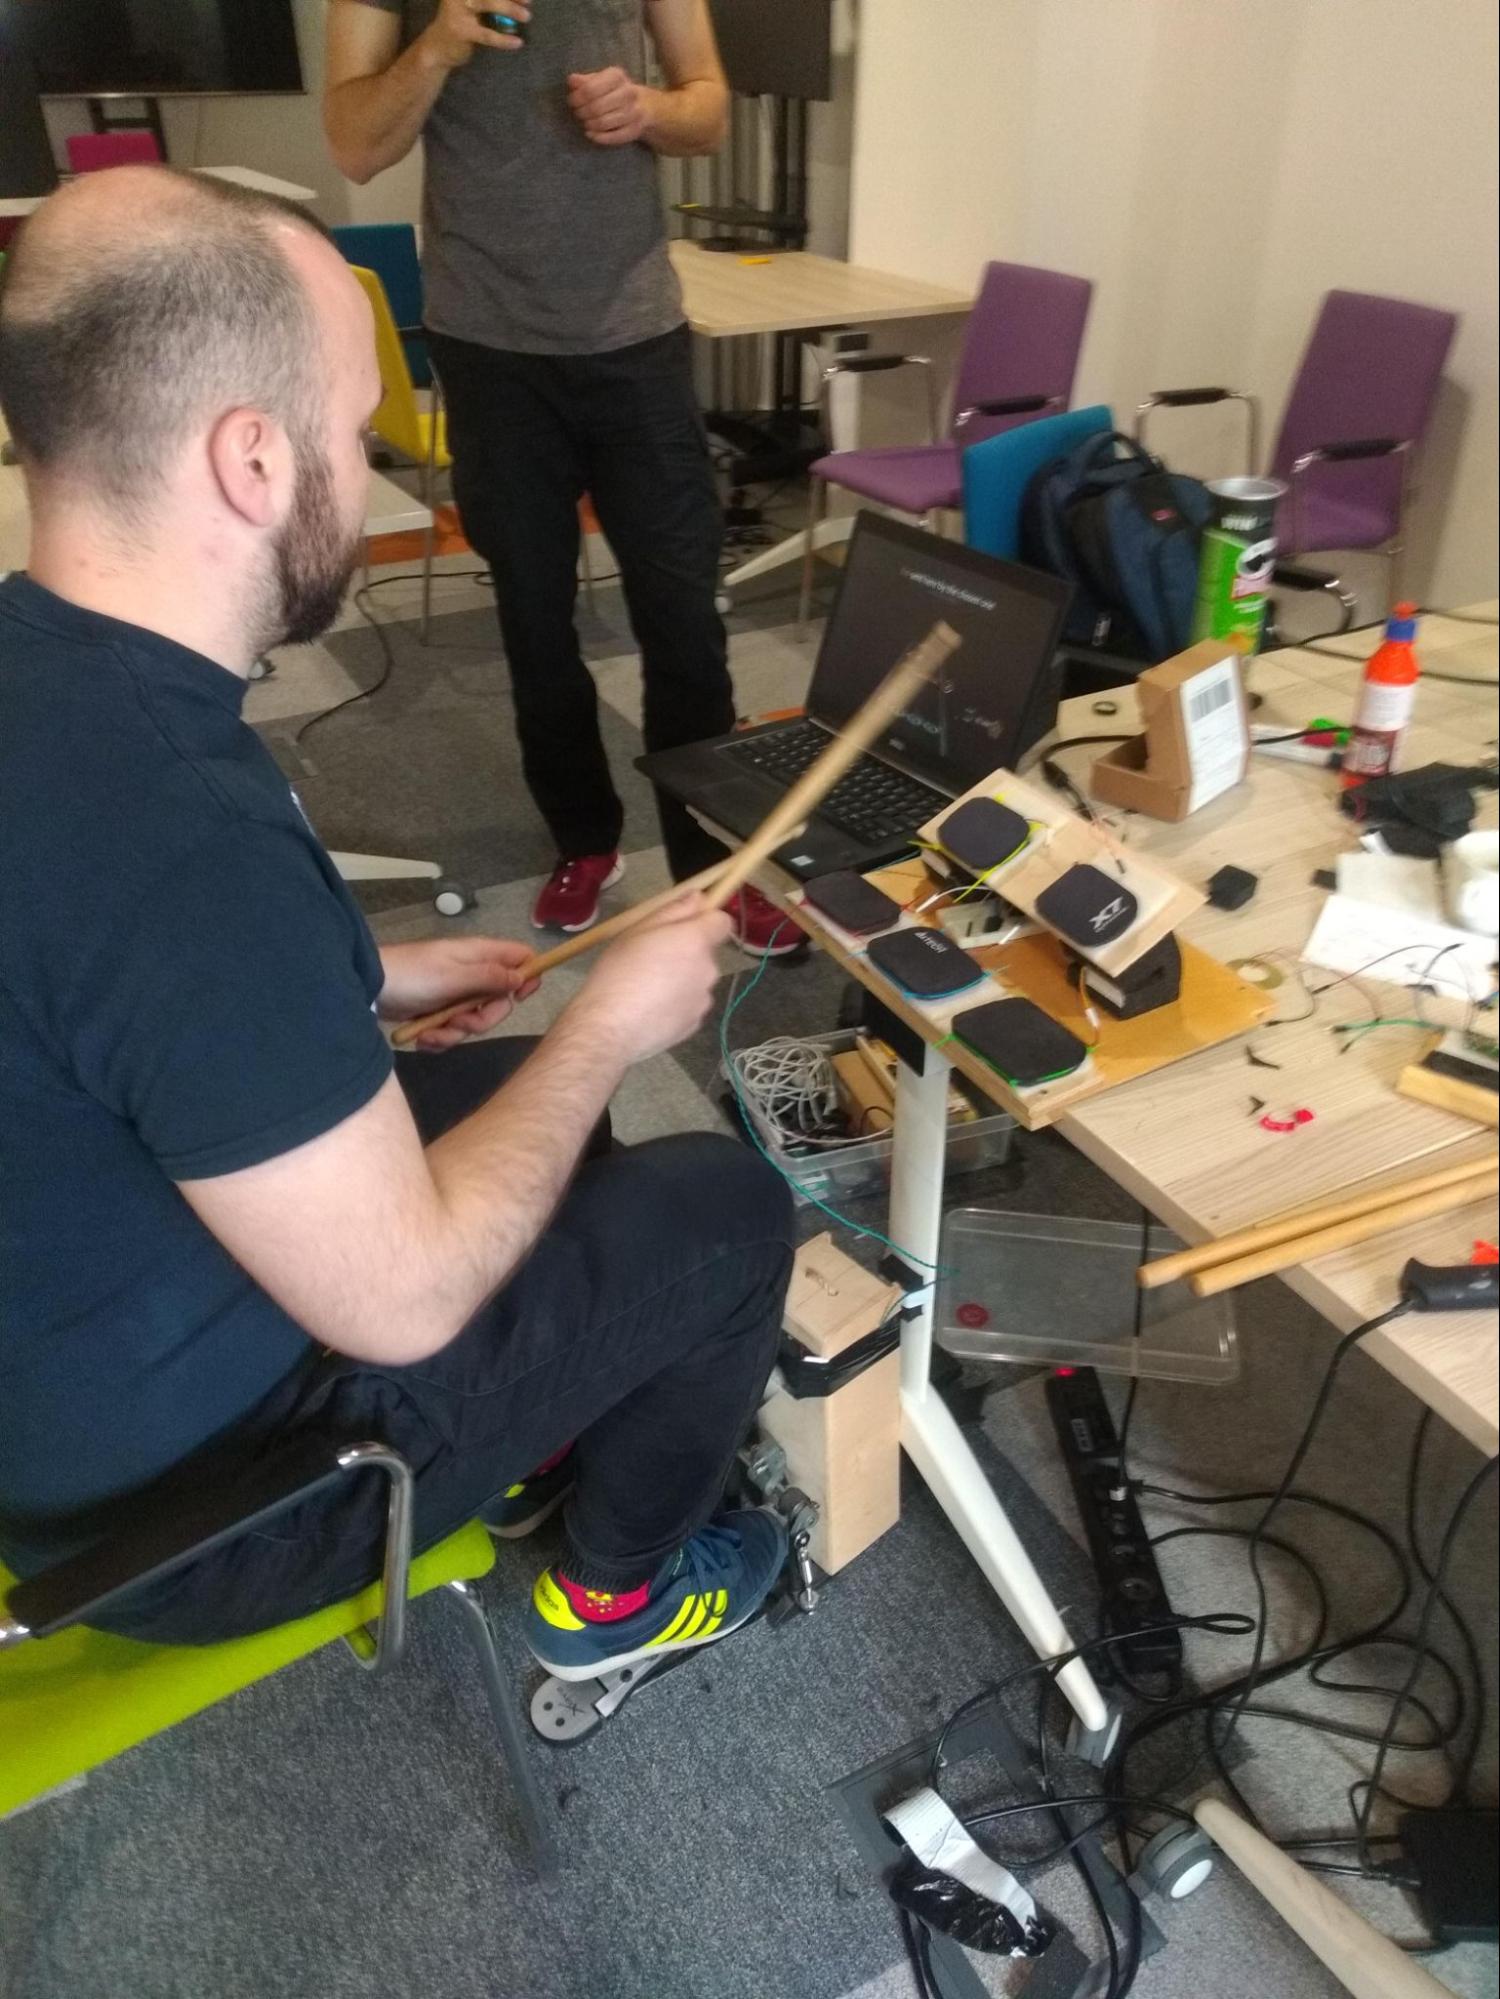
The last hour of the hackathon we mainly spent practising Guitar Hero.
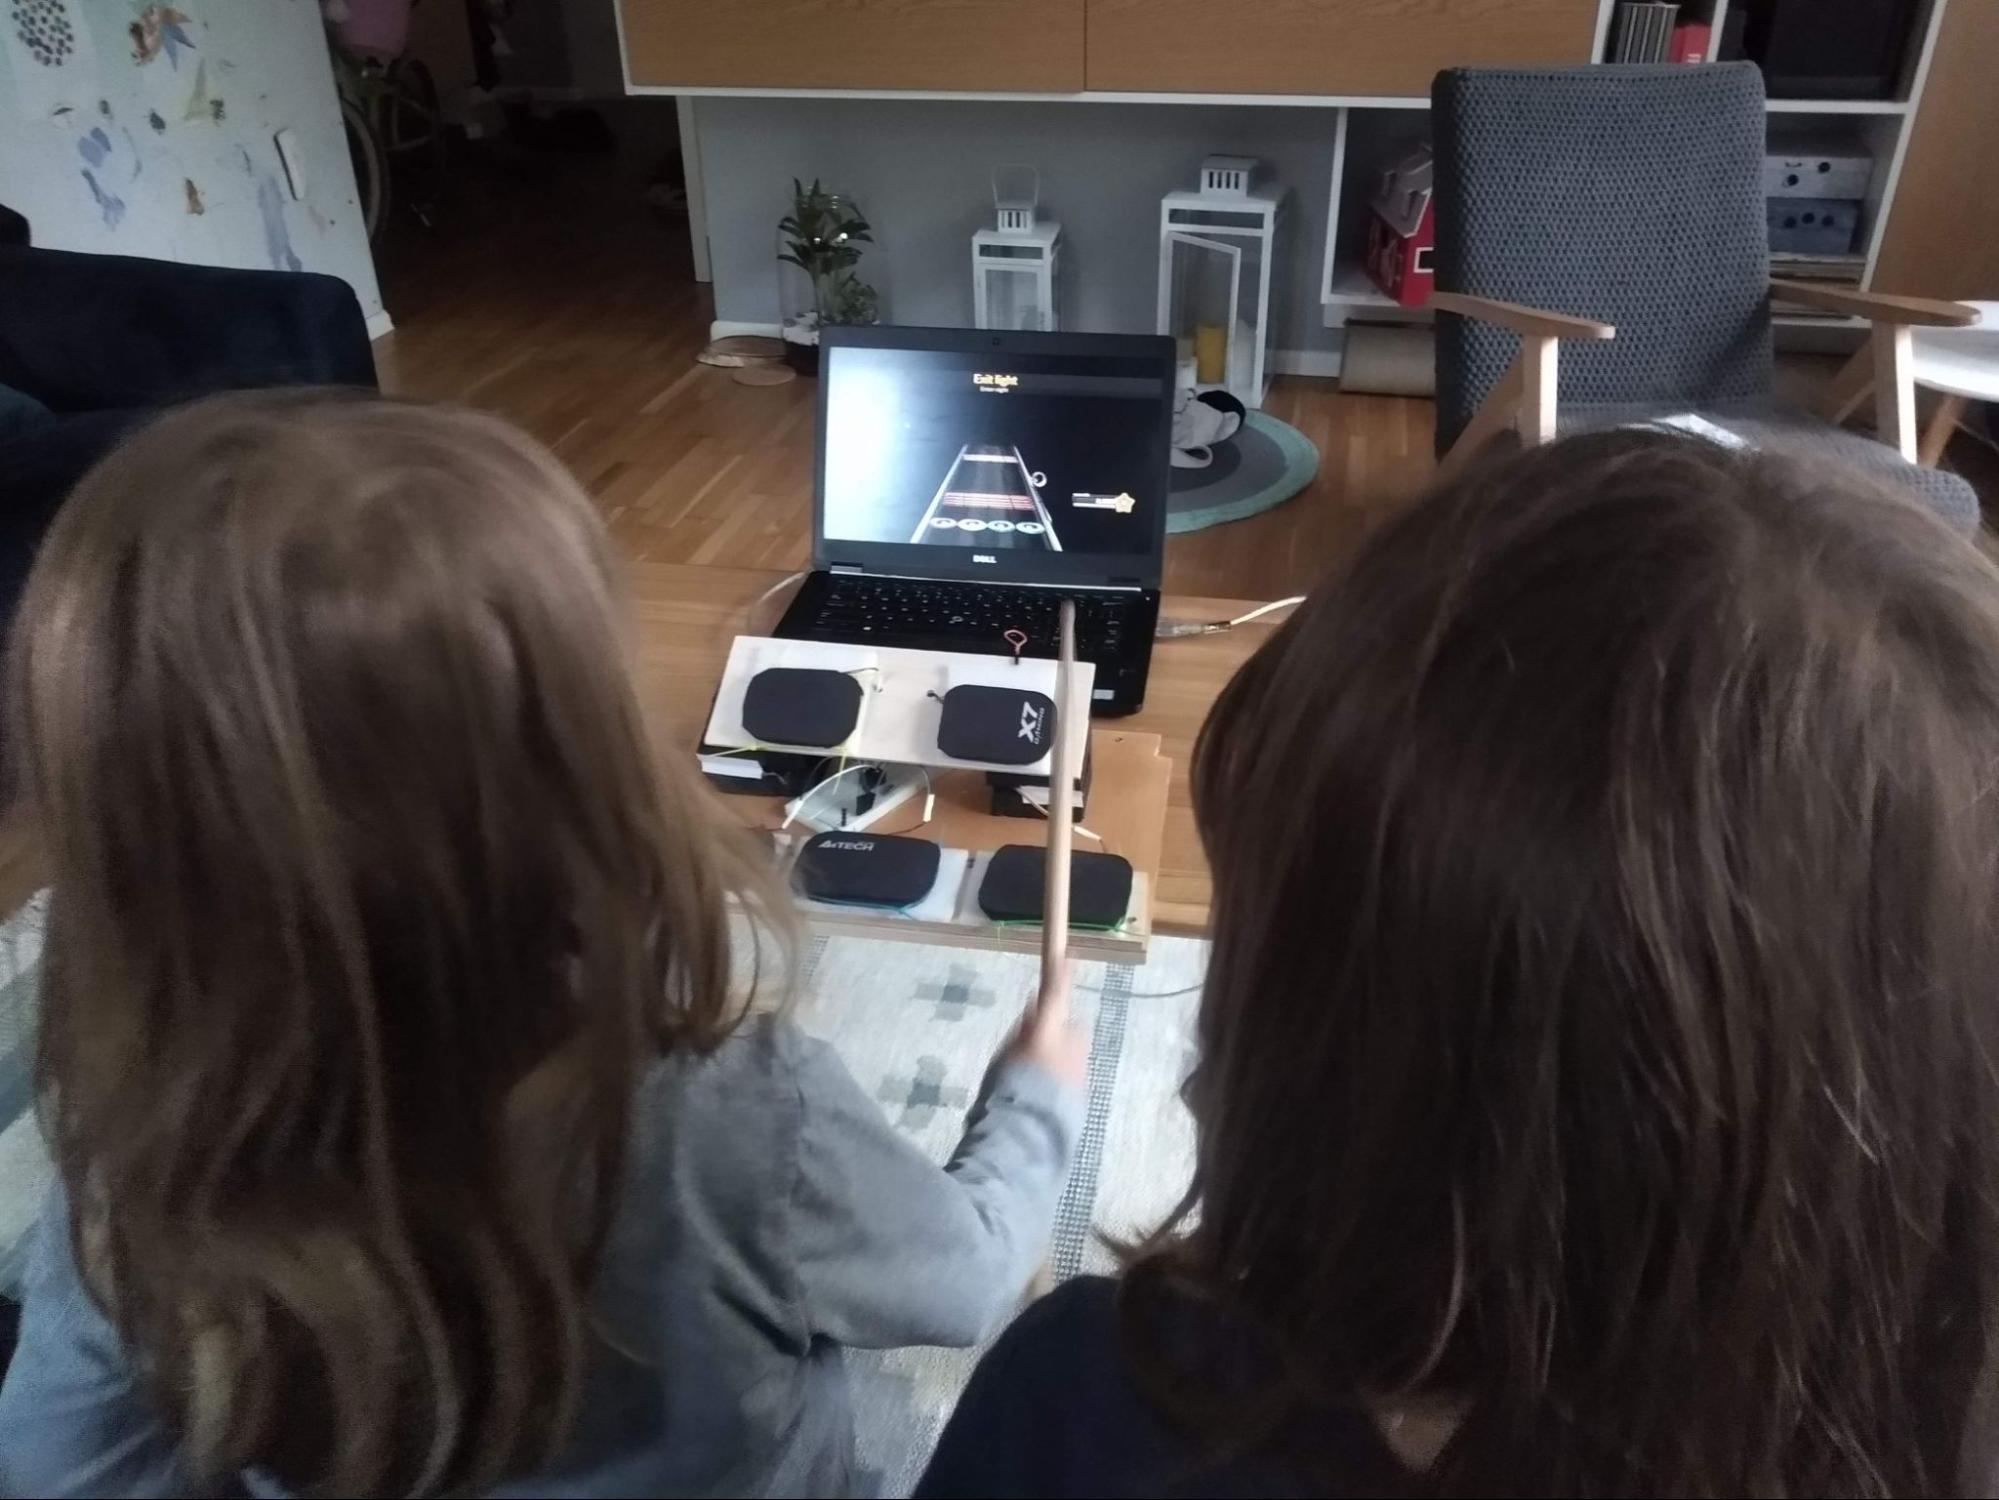
My kids got the idea as well…
Dodgeball v2
Authors: Jan Cieślak, Michał Hofman
Dodgeball v2 is a continuation of an idea from the previous hackathon to make a dodgeball game that everyone could play at the end of this year’s edition. Last time round, we used python, pygame and grpc. Although we kinda succeeded, managing to produce a playable game in two days, because of time constraints we had to make some sacrifices and so didn’t deploy the game :(. At this hackathon, we wanted to achieve the same goal of making a multiplayer game, but this time we also wanted to deploy it.
The project was started from the ground up and this time we took a different approach and used:
- A different language (Go – just for learning purposes, but we wanted to see how the server would look in this language, because it’s widely used in performant backend services. In the game development world it’s used in Riot Games for Valorant server side).
- Udp and tcp networking protocols for client-server communication, because it turned out grpc is not a good candidate (at least for udp replacement).
- Concepts from the book “Multiplayer Game Programming” by Joshua Glazer, e.g. client-side interpolation and prediction.
We succeeded in deploying a playable game, because we had more time and some of the code to work with at the start. Dodgeball v2 was started before the hackathon and was a playground for me (Jan) to study, implement and test concepts and patterns from the book mentioned above. We don’t want to stop here and we’re planning to expand this project and make a fully-featured game with lobbies, groups, tournaments, etc.
I want to thank Michał for the current and Adrian for the previous hackathon <3. 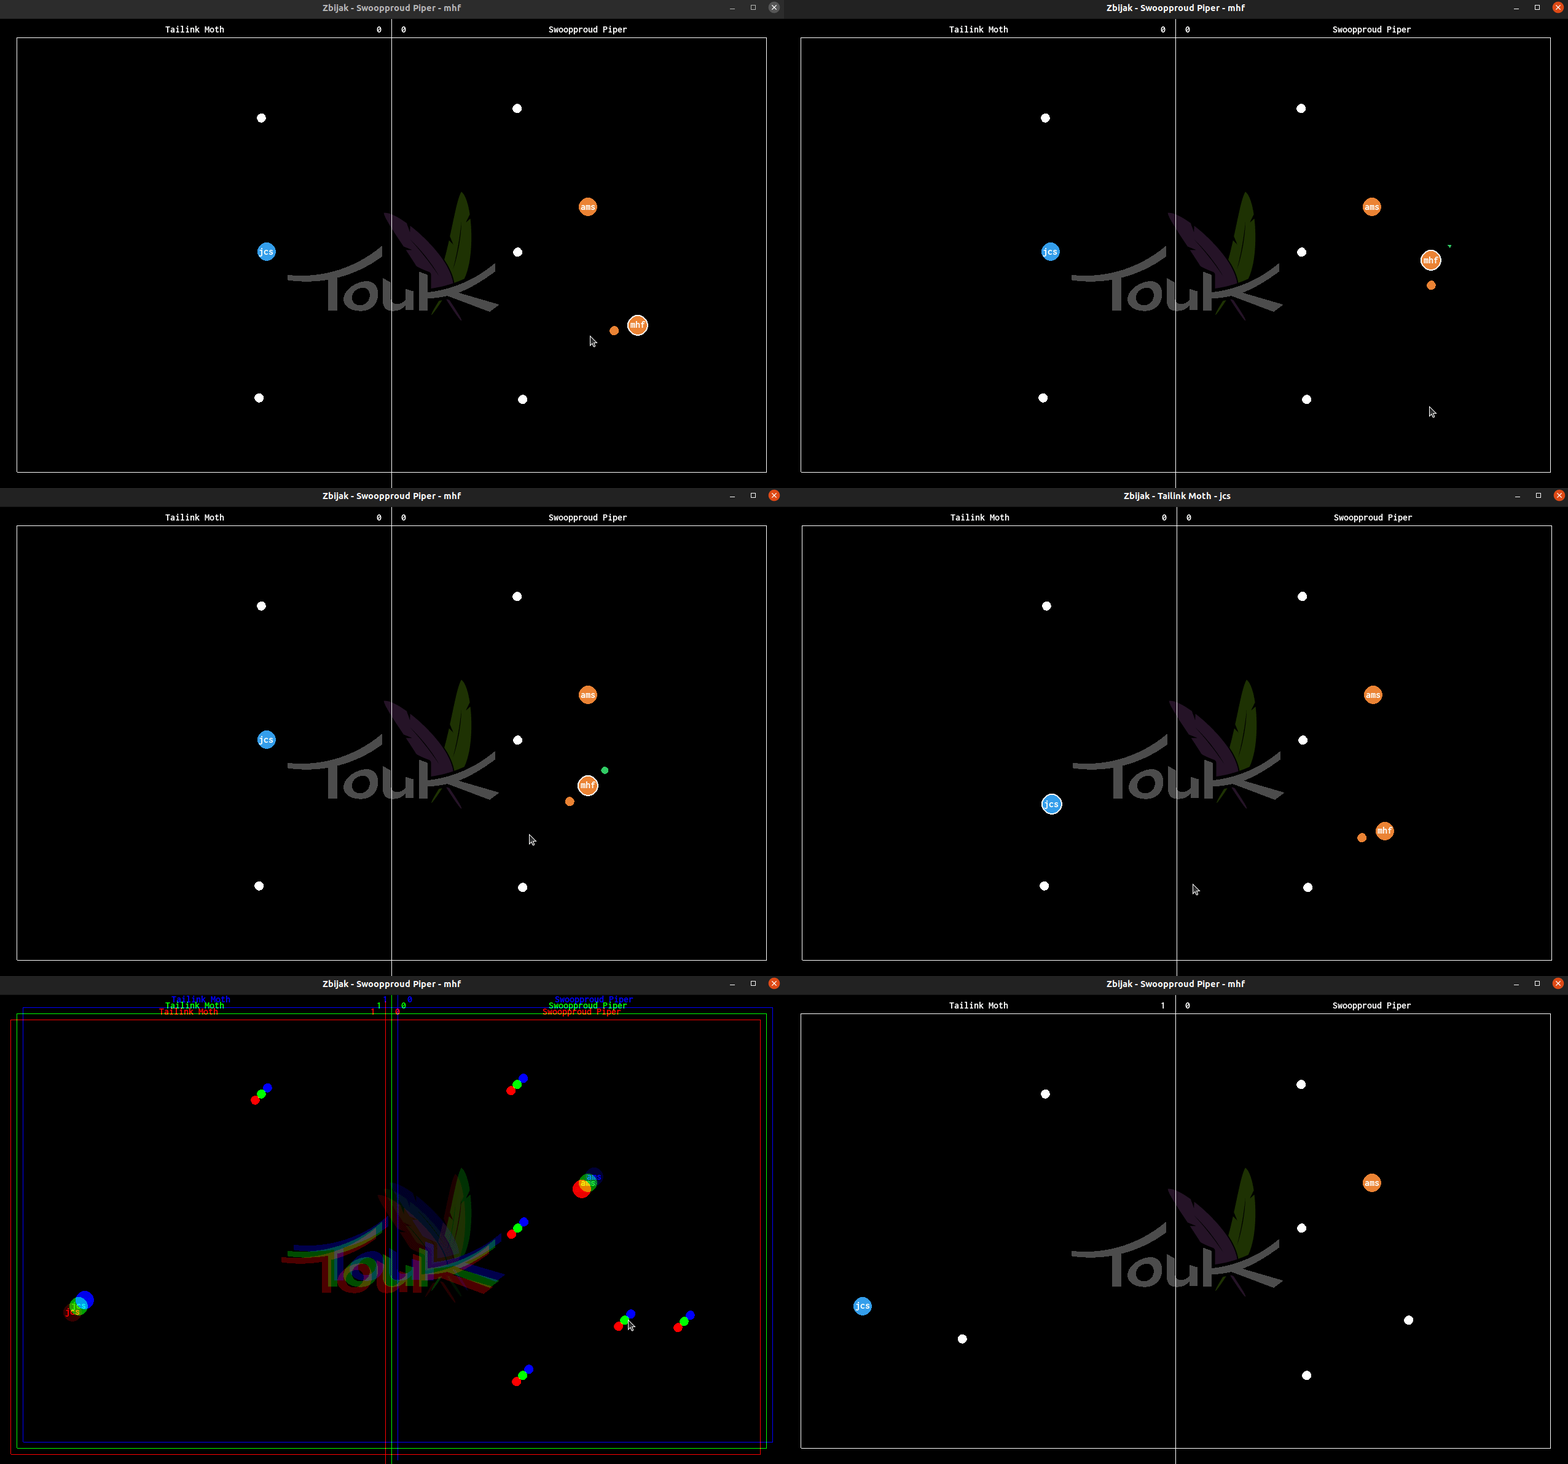
Summary
As you can see TouKathon resulted in:
- Lots of fun and inspiration.
- New technologies explored.
- Several impressive useful products.
- A chance to enjoy a new project with colleagues we don’t code with in our day-to-day work.
Additionally, our internal campaign inviting all TouK employees to the hackathon was a special one. We’ve created this entertaining video and matching advertisement posters. We can proudly say that the reception of both was overwhelmingly positive. 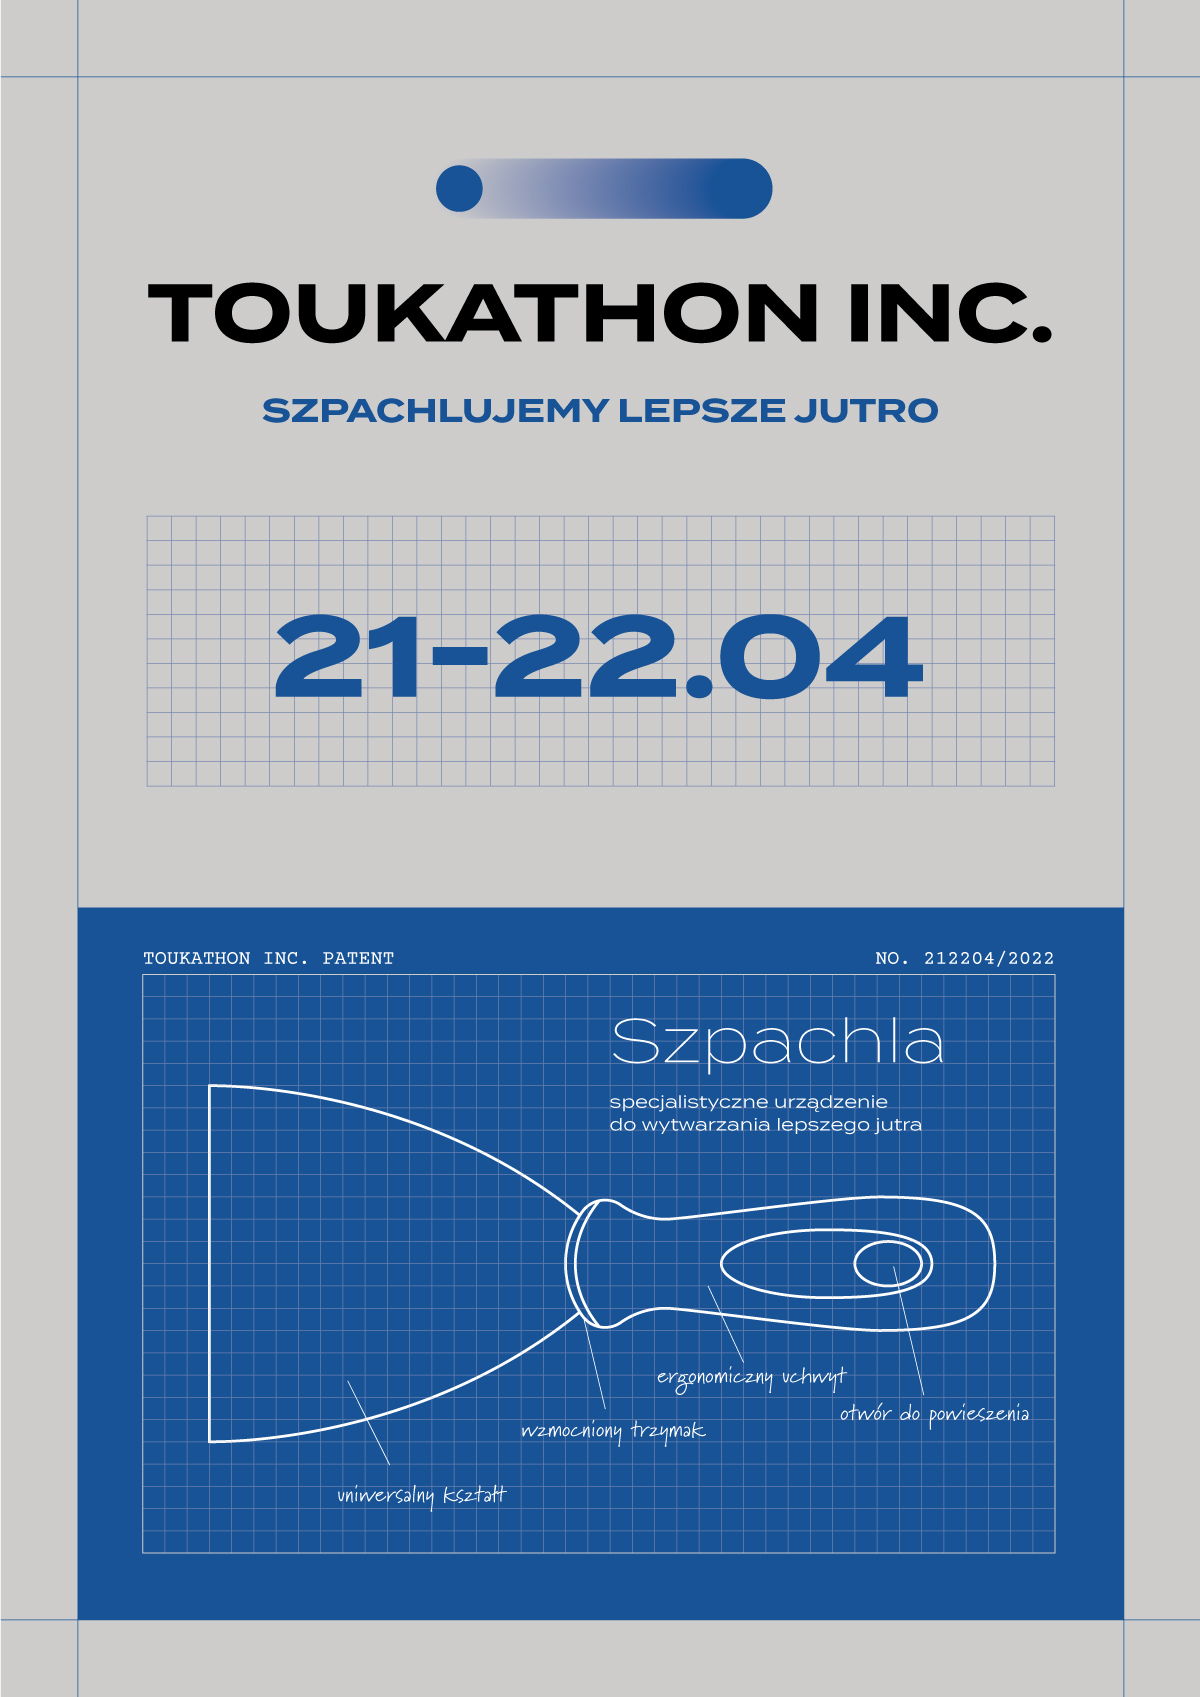
See the post about the previous edition of hackathon here.