The experience of developing “Quak” during a hackathon.

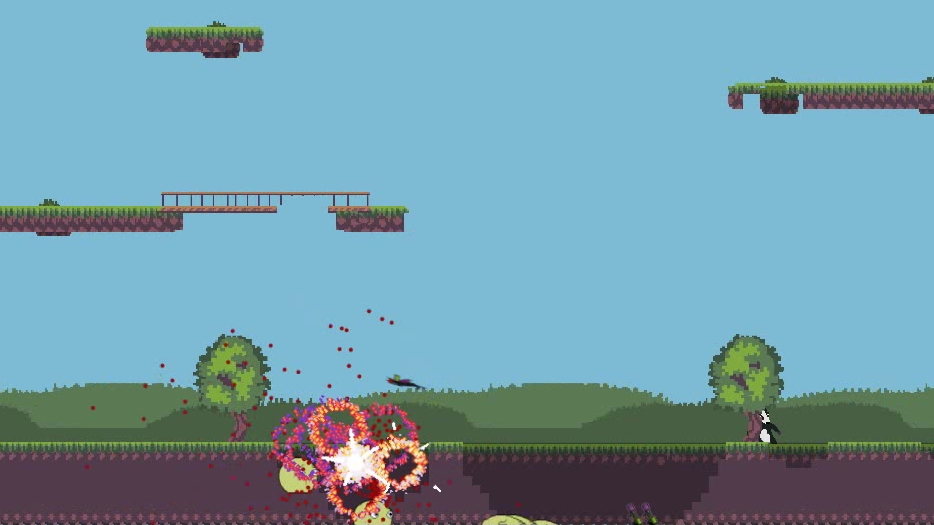
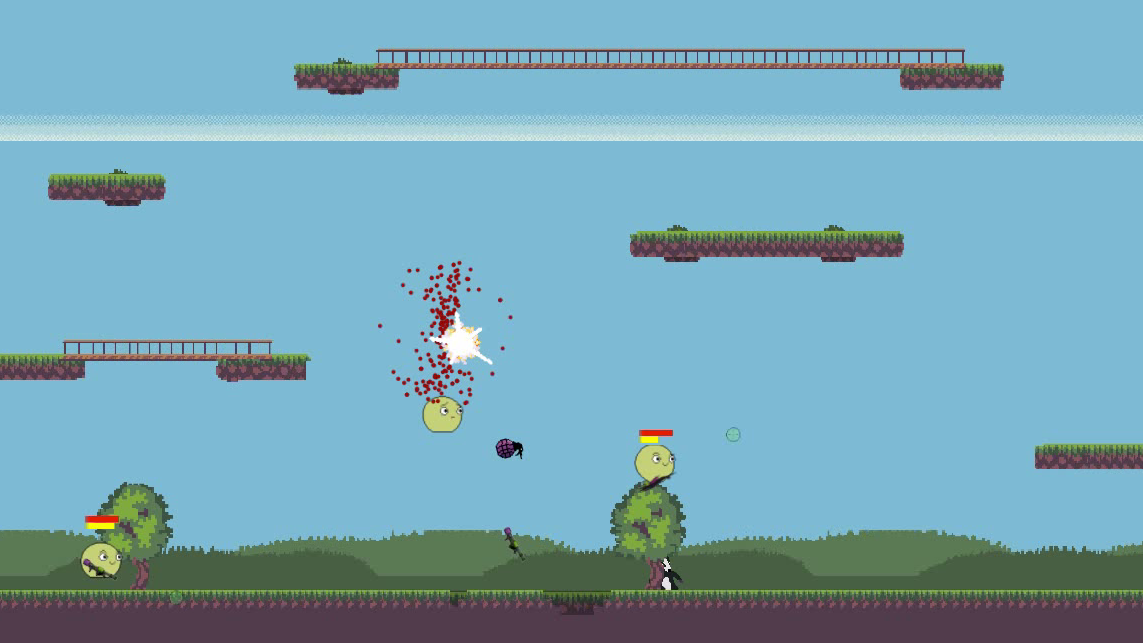
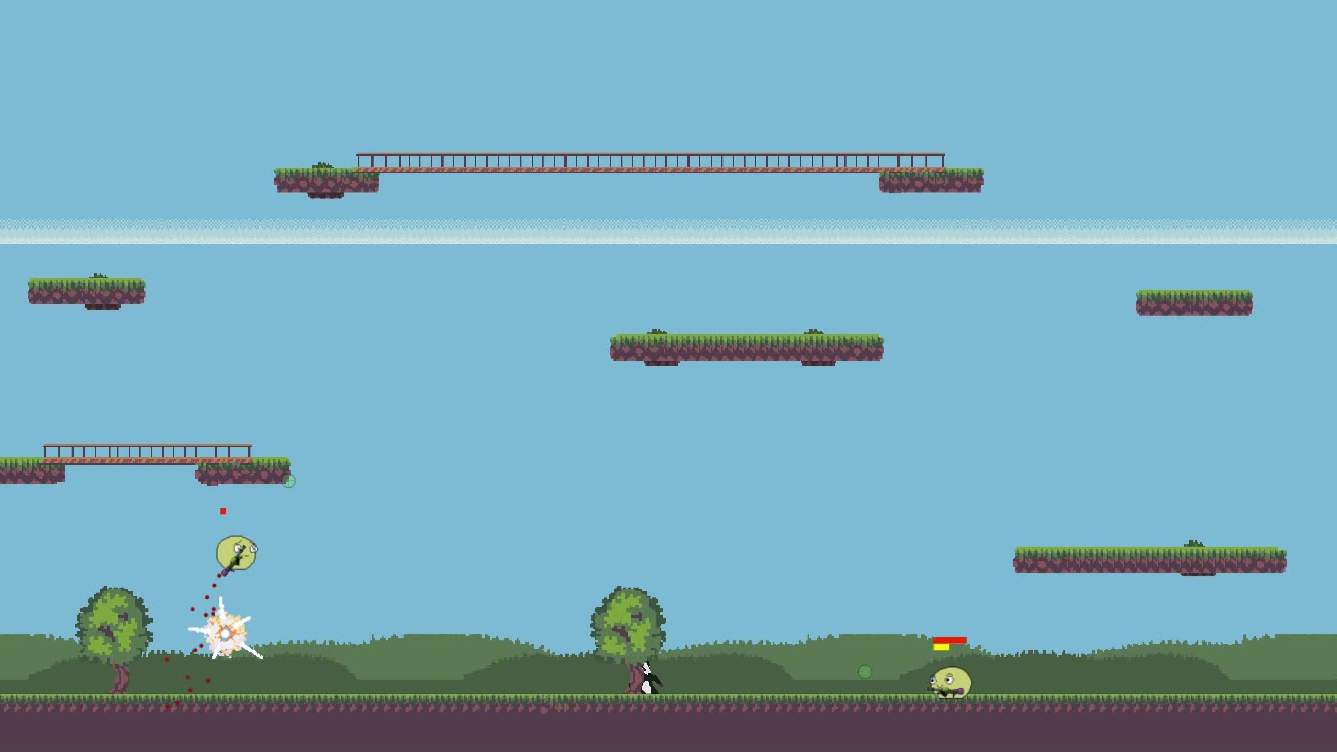
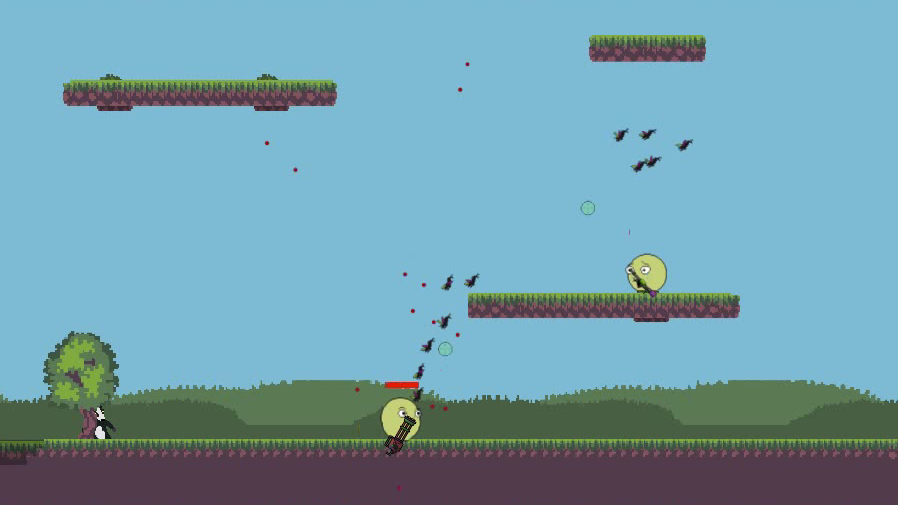
In March 2019 we held a 2-day hackathon named “Ship IT!” in TouK. I was part of the team developing “Quak” – a 2D Liero/Soldat inspired game where players can immerse themselves into being a cute blob-like character while simultaneously laying waste to their opponent.

In this post I want to share our experience writing and designing the game, what kind of roles team members assumed and some of the technical choices we made.
Development

Working for a company that swims in JVM technologies – naturally we chose Kotlin as our development language. Our leader Rafał Golcz created a simple game engine in the ECS Model using the standard java game development library – libgdx and box2d for physics.

ECS stands for Entity Component System, and its main advantage over a standard object hierarchy (as games tend to be strongly object-oriented programs in principle) is its behavioural nature.

Instead of drowning in large inheritance trees and having potential “problems” with instantiation or making sure what kind of object goes where – we receive an elegant solution where the behaviour of every game object can be defined as a list of scripts that are attached to it. From design perspective it also allows for a more natural approach to creating specific objects (as in what properties an object has like dealing damage on impact, destruction on collision, bleeding).
Team Roles

Large gamedev companies (Blizzard, CD Project Red, Bethesda – to name a few) usually have strict roles for people working on their projects. Game directors, designers, writers, composers, testers, programmers, marketing teams, managers – all of which (except maybe for directors/managers) tend to be split between junior, senior and leads.

Developers are also often split according to their main responsibility: engine/tools development, gameplay programmers, special effect programmers. However, in smaller teams responsibilities tend to be way more relaxed. What I find really interesting is the natural emergence of similar structures during these 2 days of developing Quak.
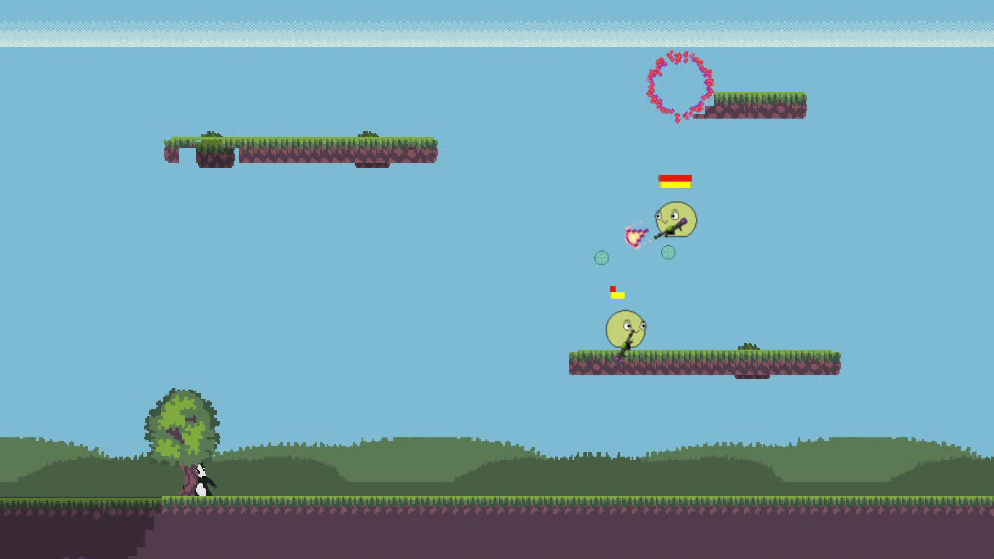
We had a person responsible for art, another person for music and sound effects, 5 people who were actively developing various features for the game (controllers aka joystick and keyboard integration, weapons and missiles/bullets, collisions, character movement/controls, map loading, destructible terrain, blood splatter and camera shake effects).

At some point someone took the mantle of mapper and started creating the terrain you can see in the various screenshots in this article and a few others. What did wonders, in my opinion, was when one person became some sort of a Game Director and Designer’s hybrid. By making sure that everyone had a similar grasp of the direction the game was taking this person made sure that contradicting ideas and implementations didn’t emerge. I was this person.
Experience Itself

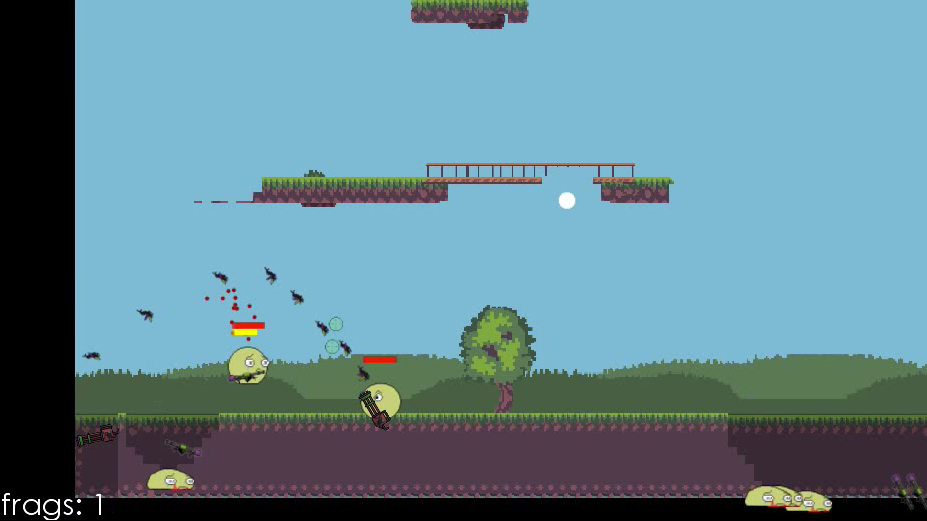
New features were “flowing in” as our leader noticed. Everything seemed to work seamlessly, every time someone wanted to push their changes to the repository they were met with the necessity of git pulling the changes which often introduced multiple new features. All of this added up made for a great passionate atmosphere, full of fast development and motivation. At some point we had outsourced testers from other projects to playtest early versions of the game as the sound of quacking echoed through the vast open-space of TouK.
Conclusions

During the project showcase Quak has been met with laughter and smirky remarks – great signs. We concluded that the game was a success – we delivered more than we thought we were capable of before the actual hackathon.

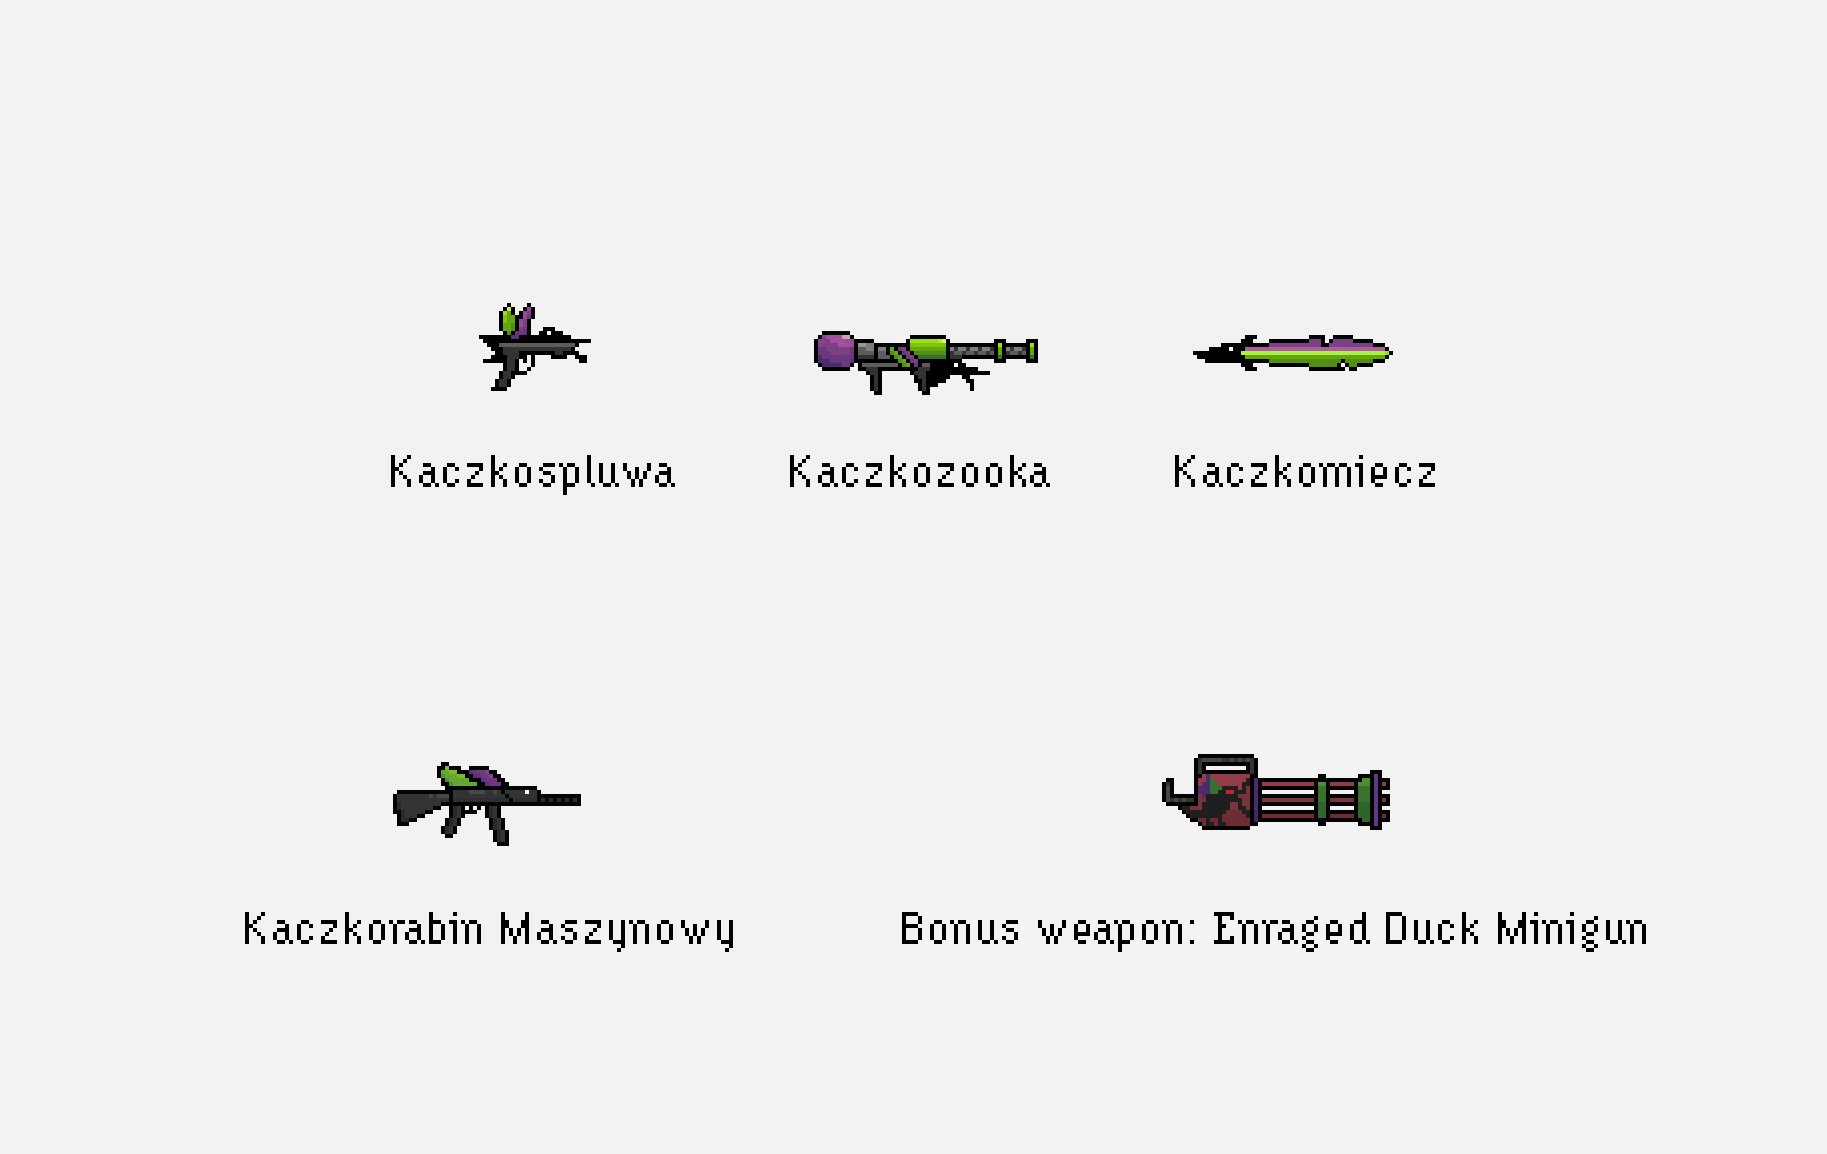
Making sure that the game is “juicy” (in gamedev slang – a game is juicy if love and care has been put into small details/finishing touches) at a relatively early stage with camera shake, visual effects like explosions or blood, sounds of duck quacking (as our bullets are all some kind of variation of TouK’s “duck” mascot) all made the game much more interesting to playtest and to develop – boosting the morale and work efficiency of the team.

Having little stand-ups every few hours to quickly discuss who is responsible for what and in which direction the game is going (what features to cut, which to implement, maybe some new ones?) as well as the aforementioned game director all made sure every member of the team knew what to do and in my opinion was the reason we managed to successfully finish the game. Quak has since then appeared at our stand during Scalar conference and was met with positive feedback.
It was an awesome experience but it wouldn’t be possible without a great team. Kudos to the entire Quak squad: Rafał Golcz, Robert Piwowarek, Agata Kłoss, Mateusz Mazur, Hubert Lipiński and Filip Majewski.

You May Also Like

GWT Hosted mode on 64bit linux

GWT for linux is build against 32bit architecture. It contains some SWT/GTK 32bit modules. So if you try to run it with 64bit java it failsException in thread "main" java.lang.UnsatisfiedLinkError: /opt/tools/sdk/gwt/gwt-linux-1.5.3/libswt-pi-gtk-3235....

Clojure web development – state of the art

It’s now more than a year that I’m getting familiar with Clojure and the more I dive into it, the more it becomes the language. Once you defeat the “parentheses fear”, everything else just makes the difference: tooling, community, good engineering practices. So it’s now time for me to convince others. In this post I’ll try to walktrough a simple web application from scratch to show key tools and libraries used to develop with Clojure in late 2015.

Note for Clojurians: This material is rather elementary and may be useful for you if you already know Clojure a bit but never did anything bigger than hello world application.

Note for Java developers: This material shows how to replace Spring, Angular, grunt, live-reload with a bunch of Clojure tools and libraries and a bit of code.

The repo with final code and individual steps is here.

Bootstrap

I think all agreed that component is the industry standard for managing lifecycle of Clojure applications. If you are a Java developer you may think of it as a Spring (DI) replacement - you declare dependencies between “components” which are resolved on “system” startup. So you just say “my component needs a repository/database pool” and component library “injects” it for you.

To keep things simple I like to start with duct web app template. It’s a nice starter component application following the 12-factor philosophy. So let’s start with it:

lein new duct clojure-web-app +example

The +example parameter tells duct to create an example endpoint with HTTP routes - this would be helpful. To finish bootstraping run lein setup inside clojure-web-app directory.

Ok, let’s dive into the code. Component and injection related code should be in system.clj file:

(defn new-system [config]
  (let [config (meta-merge base-config config)]
    (-> (component/system-map
         :app  (handler-component (:app config))
         :http (jetty-server (:http config))
         :example (endpoint-component example-endpoint))
        (component/system-using
         {:http [:app]
          :app  [:example]
          :example []}))))

In the first section you instantiate components without dependencies, which are resolved in the second section. So in this example, “http” component (server) requires “app” (application abstraction), which in turn is injected with “example” (actual routes). If your component needs others, you just can get then by names (precisely: by Clojure keywords).

To start the system you must fire a REPL - interactive environment running within context of your application:

lein repl

After seeing prompt type (go). Application should start, you can visit http://localhost:3000 to see some example page.

A huge benefit of using component approach is that you get fully reloadable application. When you change literally anything - configuration, endpoints, implementation, you can just type (reset) in REPL and your application is up-to-date with the code. It’s a feature of the language, no JRebel, Spring-reloaded needed.

Adding REST endpoint

Ok, in the next step let’s add some basic REST endpoint returning JSON. We need to add 2 dependencies in project.clj file:

:dependencies
 ...
  [ring/ring-json "0.3.1"]
  [cheshire "5.1.1"]

Ring-json adds support for JSON for your routes (in ring it’s called middleware) and cheshire is Clojure JSON parser (like Jackson in Java). Modifying project dependencies if one of the few tasks that require restarting the REPL, so hit CTRL-C and type lein repl again.

To configure JSON middleware we have to add wrap-json-body and wrap-json-response just before wrap-defaults in system.clj:

(:require 
 ...
 [ring.middleware.json :refer [wrap-json-body wrap-json-response]])

(def base-config
   {:app {:middleware [[wrap-not-found :not-found]
                      [wrap-json-body {:keywords? true}]
                      [wrap-json-response]
                      [wrap-defaults :defaults]]

And finally, in endpoint/example.clj we must add some route with JSON response:

(:require 
 ...
 [ring.util.response :refer [response]]))

(defn example-endpoint [config]
  (routes
    (GET "/hello" [] (response {:hello "world"}))
    ...

Reload app with (reset) in REPL and test new route with curl:

curl -v http://localhost:3000/hello

< HTTP/1.1 200 OK
< Date: Tue, 15 Sep 2015 21:17:37 GMT
< Content-Type: application/json; charset=utf-8
< Set-Cookie: ring-session=37c337fb-6bbc-4e65-a060-1997718d03e0;Path=/;HttpOnly
< X-XSS-Protection: 1; mode=block
< X-Frame-Options: SAMEORIGIN
< X-Content-Type-Options: nosniff
< Content-Length: 151
* Server Jetty(9.2.10.v20150310) is not blacklisted
< Server: Jetty(9.2.10.v20150310)
<
* Connection #0 to host localhost left intact
{"hello": "world"}

It works! In case of any problems you can find working version in this commit.

Adding frontend with figwheel

Coding backend in Clojure is great, but what about the frontend? As you may already know, Clojure could be compiled not only to JVM bytecode, but also to Javascript. This may sound familiar if you used e.g. Coffescript. But ClojureScript philosophy is not only to provide some syntax sugar, but improve your development cycle with great tooling and fully interactive development. Let’s see how to achieve it.

The best way to introduce ClojureScript to a project is figweel. First let’s add fighweel plugin and configuration to project.clj:

:plugins
   ...
   [lein-figwheel "0.3.9"]

And cljsbuild configuration:

:cljsbuild
    {:builds [{:id "dev"
               :source-paths ["src-cljs"]
               :figwheel true
               :compiler {:main       "clojure-web-app.core"
                          :asset-path "js/out"
                          :output-to  "resources/public/js/clojure-web-app.js"
                          :output-dir "resources/public/js/out"}}]}

In short this tells ClojureScript compiler to take sources from src-cljs with figweel support and but resulting JavaScript into resources/public/js/clojure-web-app.js file. So we need to include this file in a simple HTML page:

<!DOCTYPE html>
<head>
</head>
<body>
  <div id="main">
  </div>
  <script src="js/clojure-web-app.js" type="text/javascript"></script>
</body>
</html>

To serve this static file we need to change some defaults and add corresponding route. In system.clj change api-defaults to site-defaults both in require section and base-config function. In example.clj add following route:

(GET "/" [] (io/resource "public/index.html")

Again (reset) in REPL window should reload everything.

But where is our ClojureScript source file? Let’s create file core.cljs in src-cljs/clojure-web-app directory:

(ns ^:figwheel-always clojure-web-app.core)

(enable-console-print!)

(println "hello from clojurescript")

Open another terminal and run lein fighweel. It should compile ClojureScript and print ‘Prompt will show when figwheel connects to your application’. Open http://localhost:3000. Fighweel window should prompt:

To quit, type: :cljs/quit
cljs.user=>

Type (js/alert "hello"). Boom! If everything worked you should see and alert in your browser. Open developers console in your browser. You should see hello from clojurescript printed on the console. Change it in core.cljs to (println "fighweel rocks") and save the file. Without reloading the page your should see updated message. Figweel rocks! Again, in case of any problems, refer to this commit.

In the next post I’ll show how to fetch data from MongoDB, serve it with REST to the broser and write ReactJs/Om components to render it. Stay tuned!