Hackathons are prone to fail. It’s because we have very little time to create something useful, actually working and making a wow!-effect.
So this time we wanted to run “THE HACKATHON”, a well-prepared event with a very high success rate. We called it “Ship IT!” to ensure that we will focus on delivering a working product, not only on having fun while making it. We formed an organising team responsible for internal communication, collecting the needs, removing obstacles and buying some snacks and pizza for the event itself.
We thought that if we want to succeed, we’ll have to prepare well. So each team gathered before the event and talked about their plans, the technologies they intend to use and what hardware they need to order. The organizers met with all teams, exchanged details and gave some good advice.
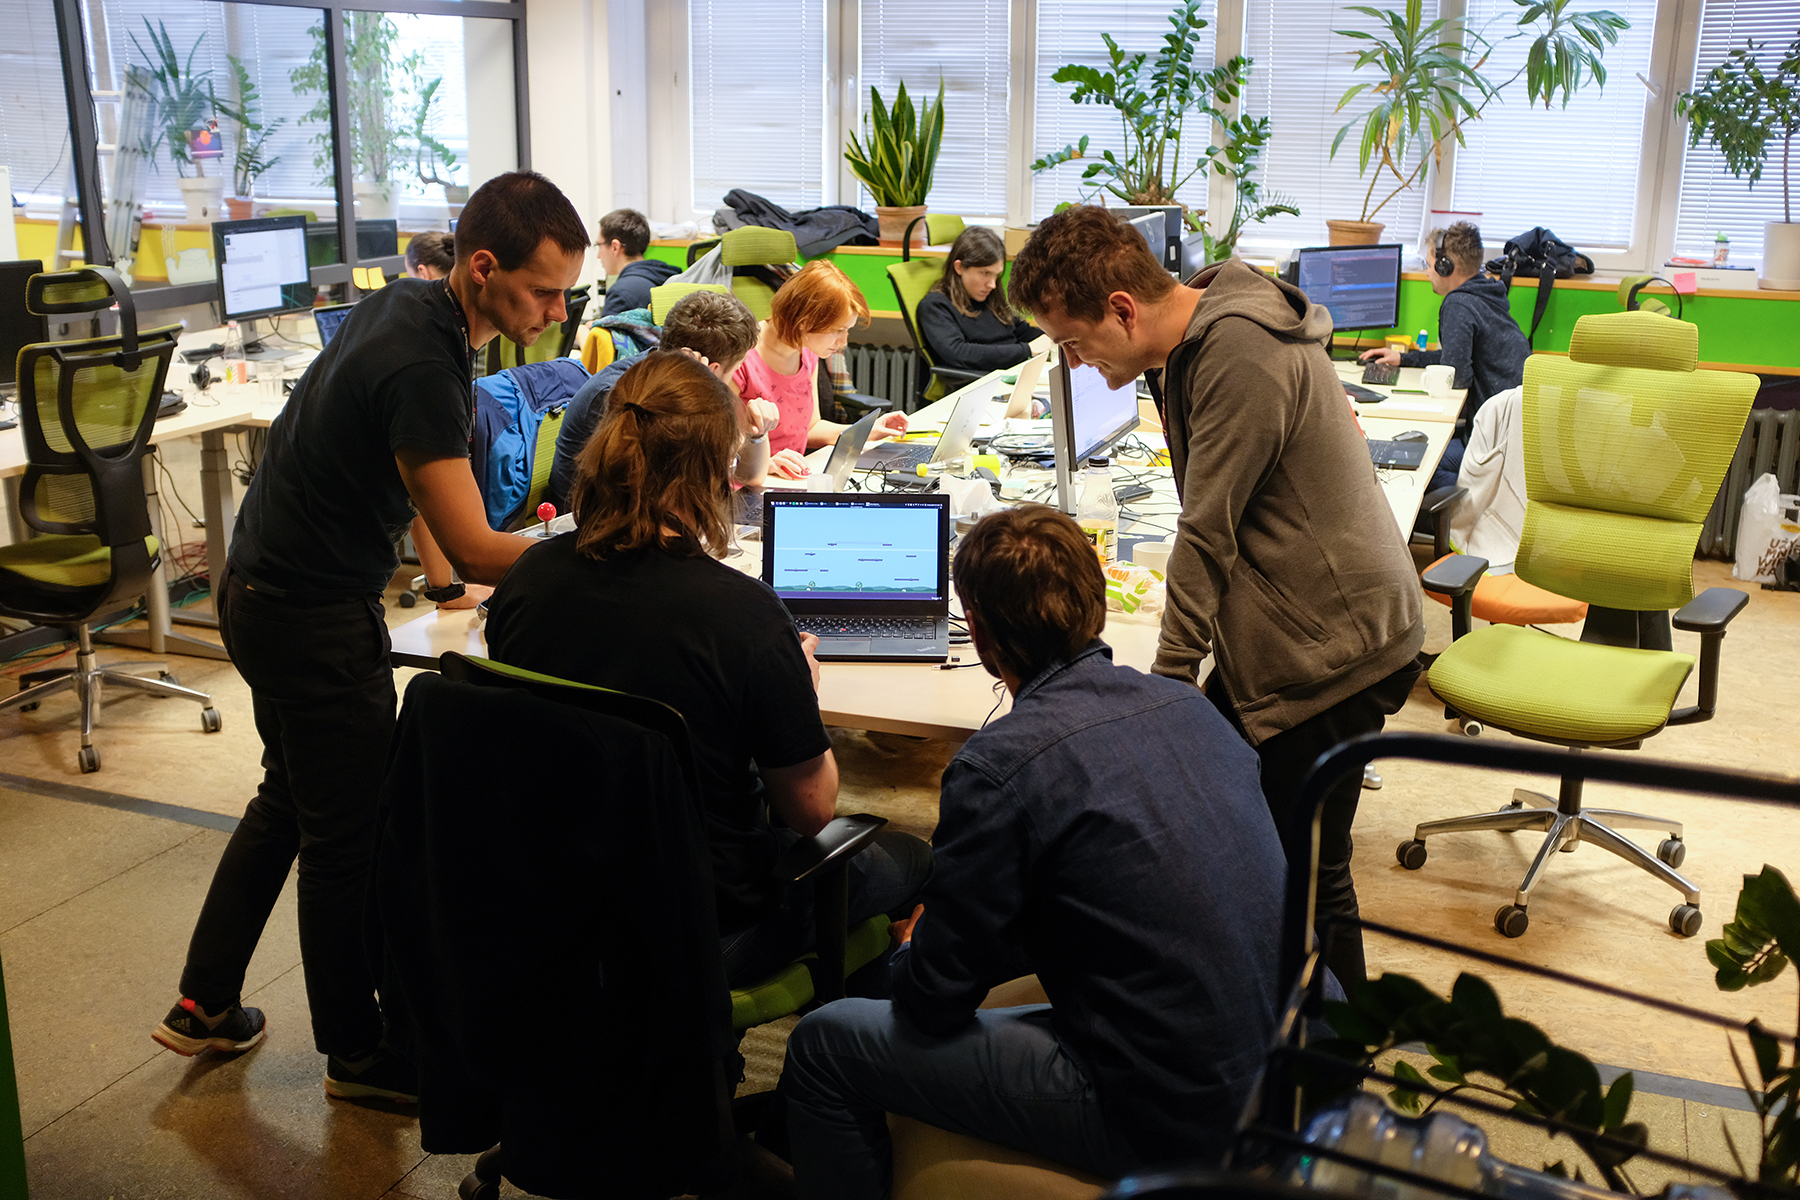
And finally, the day has come! Seven teams started the two-day hacking session at 9AM, continued until 5PM, and showed the demos of all seven projects after 4.30PM on the second day. We gathered 25 participants total.
Here is a quick presentation of the projects we delivered.
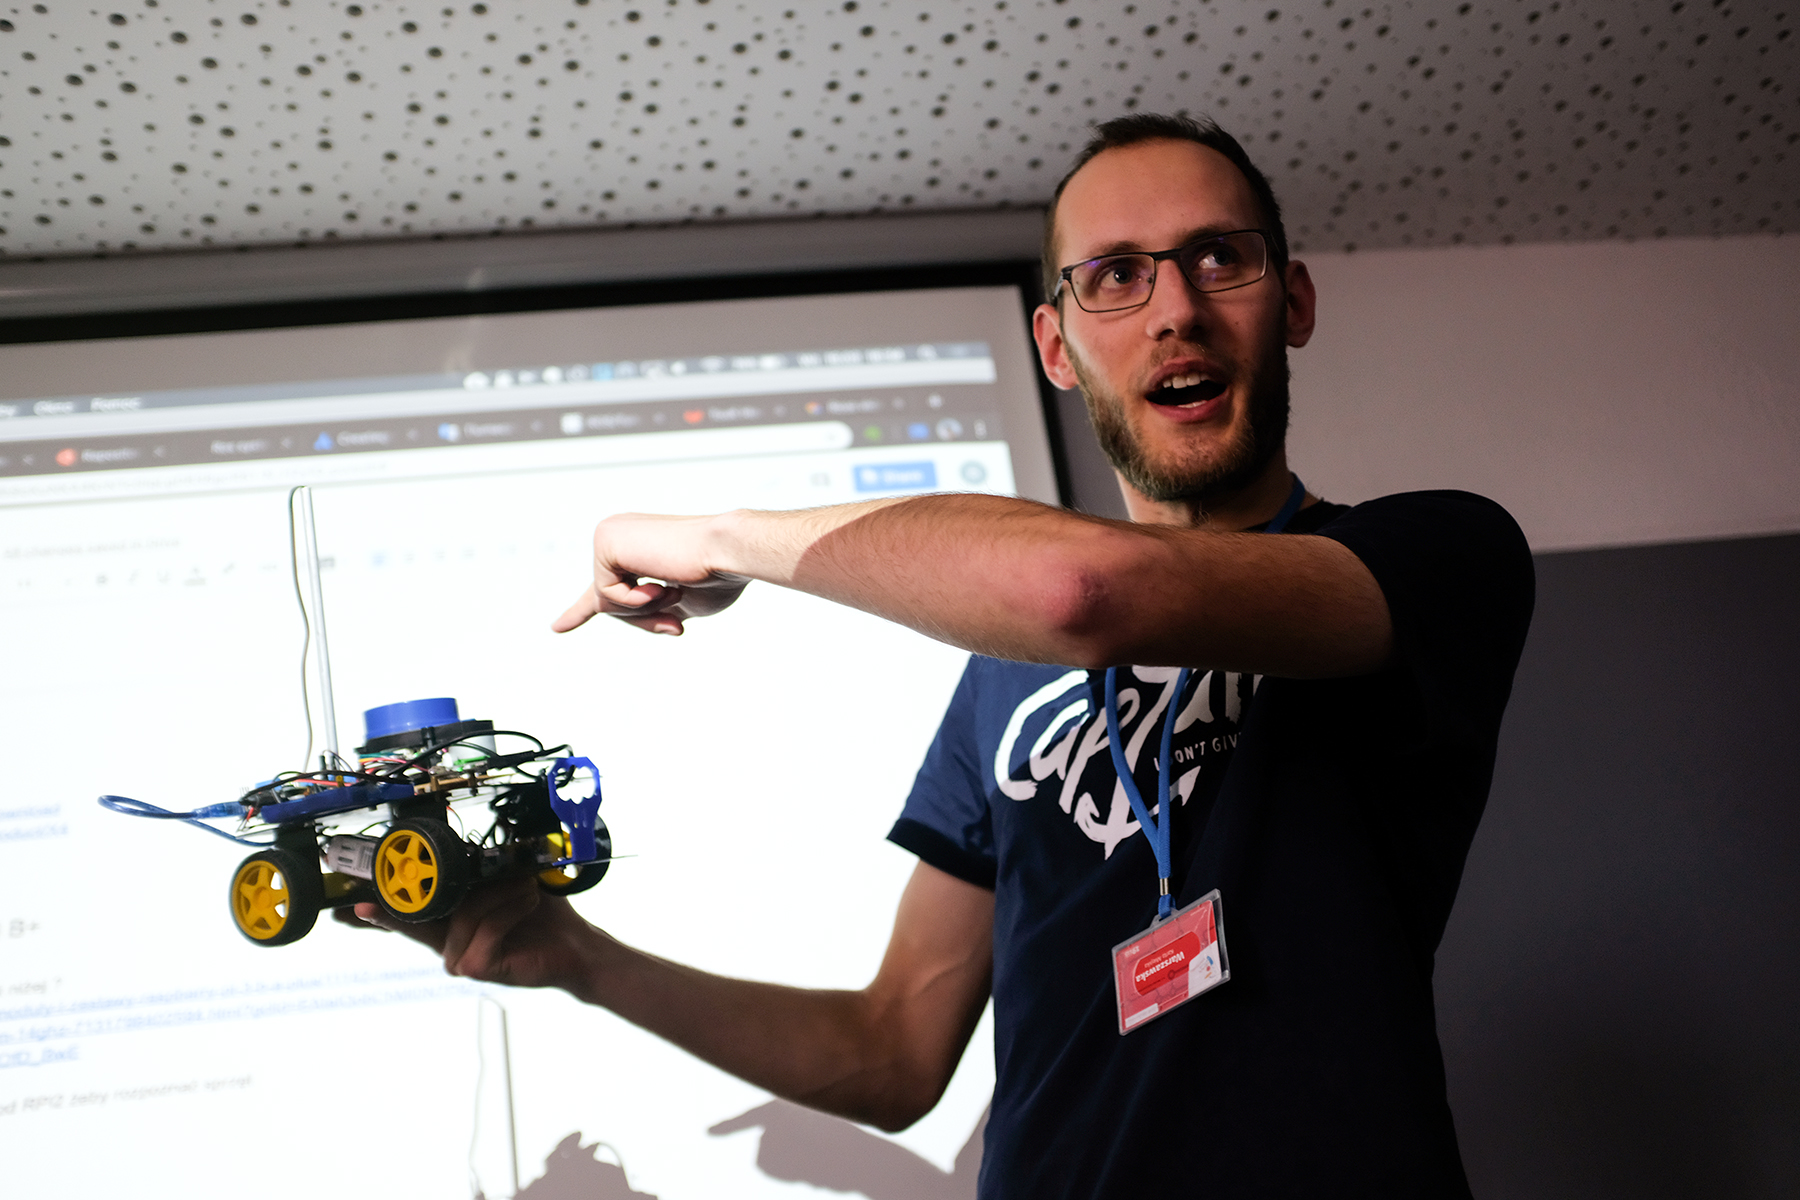
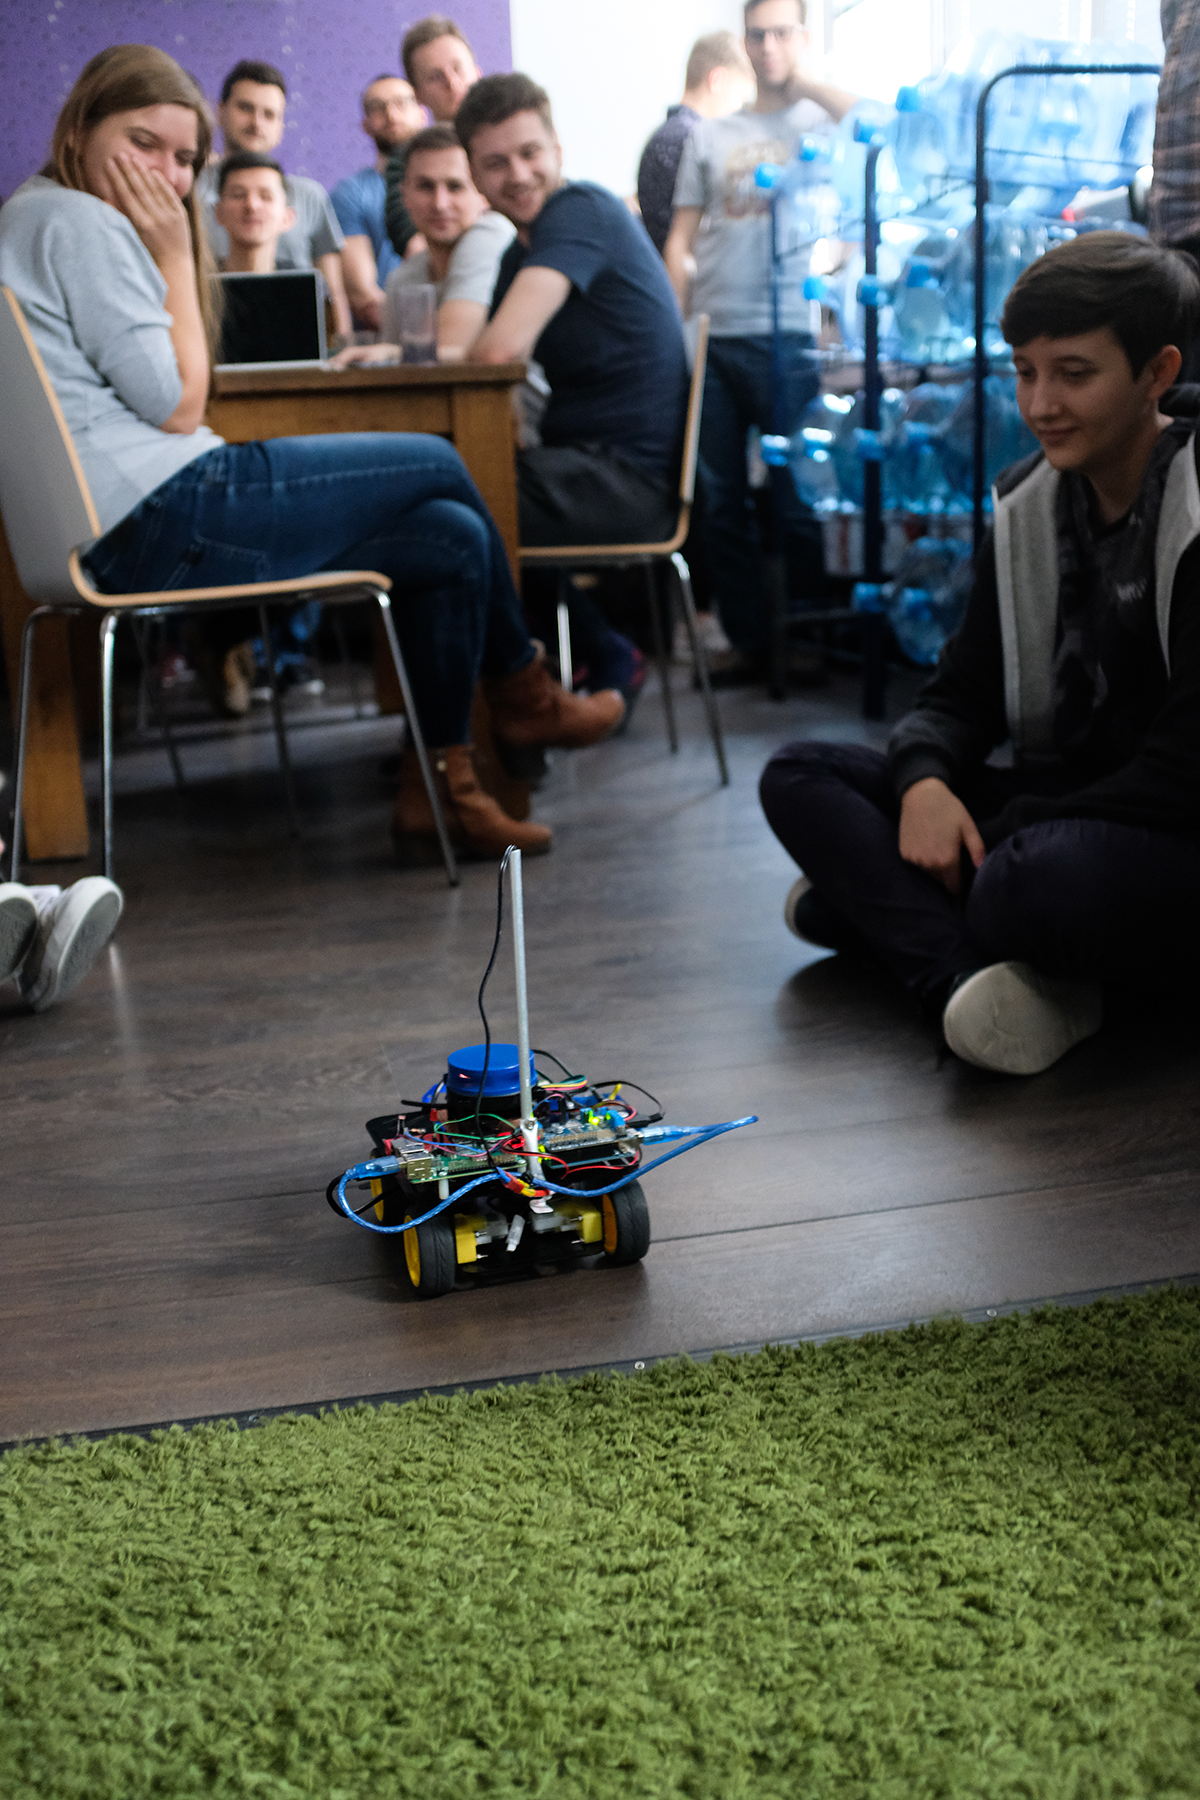
Lidar/ROS.org based robot
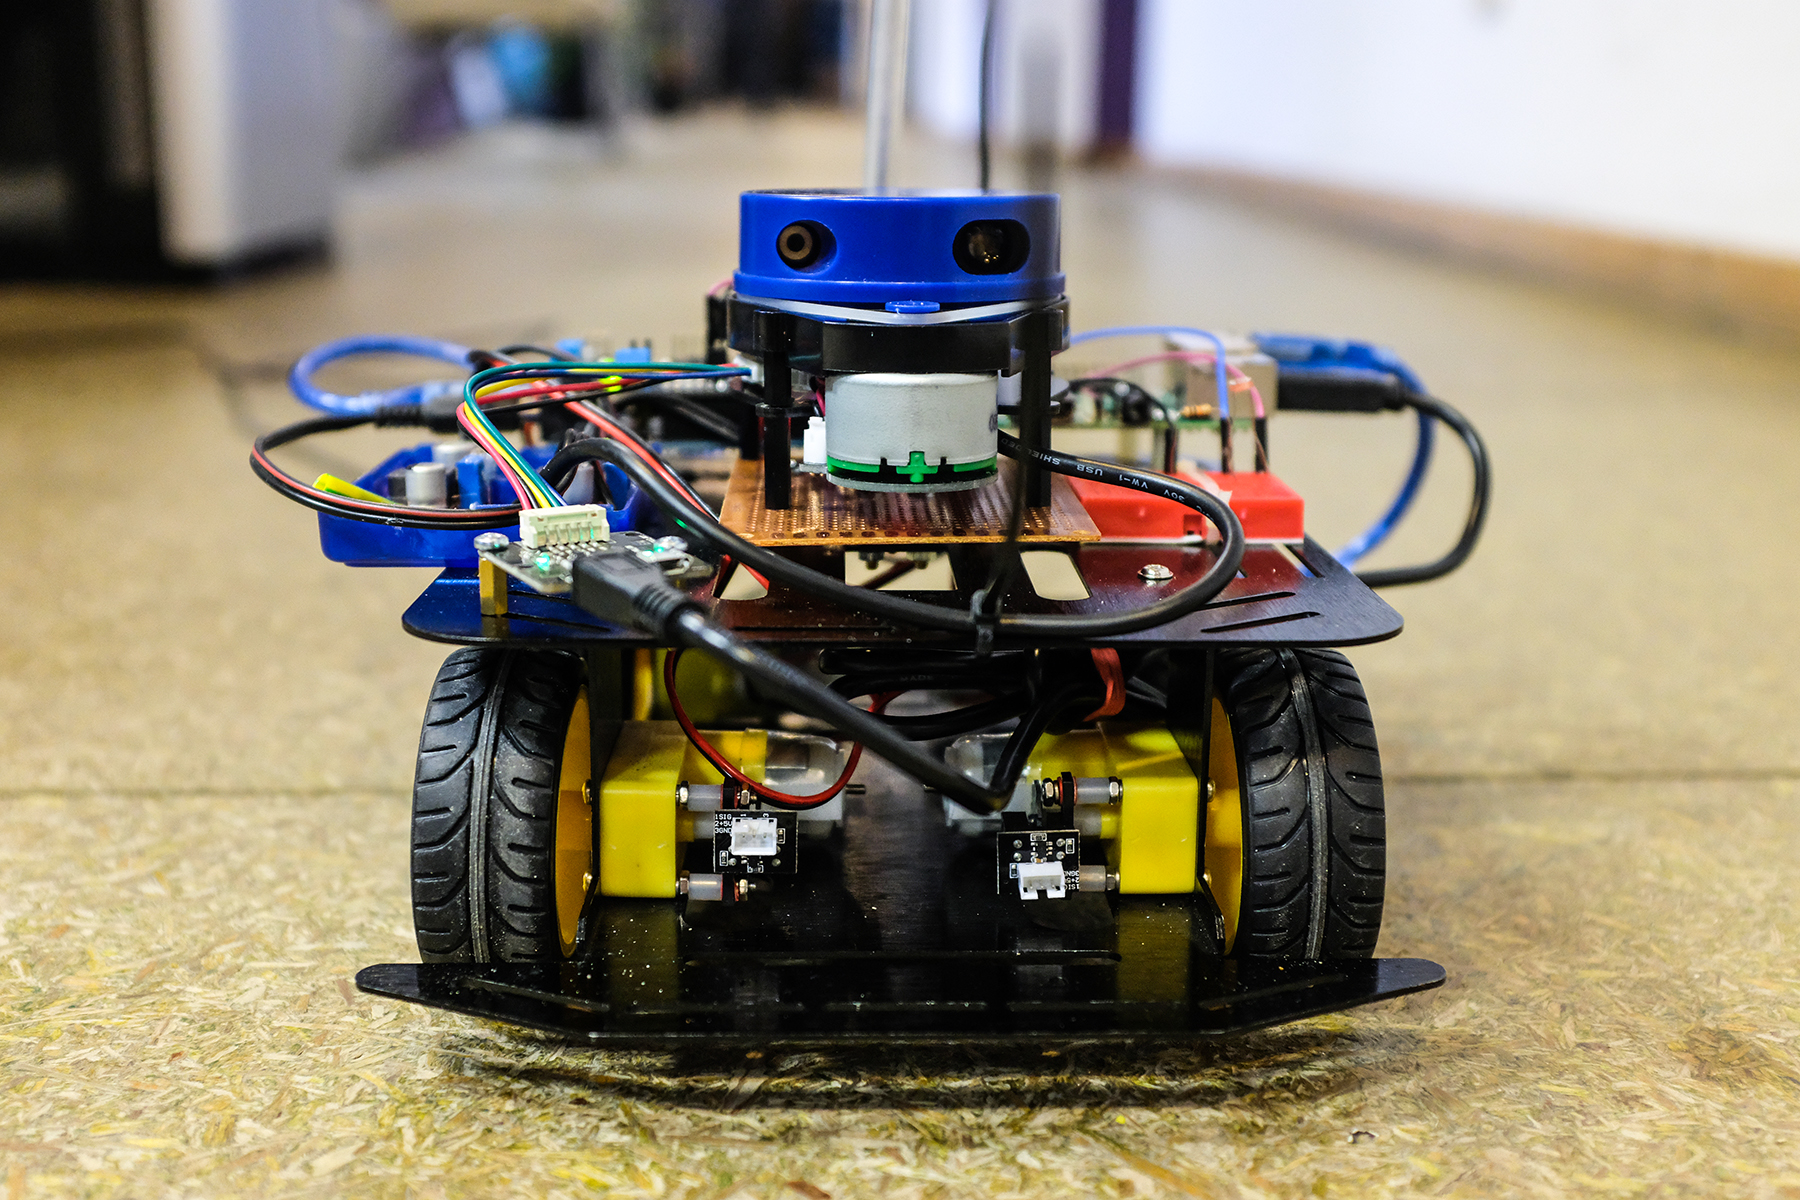 We always wanted to build a fully autonomous vehicle to transport sandwiches and monitor the Wi-Fi quality over the whole office space. The first step we took was creating a remote controlled platform with Lidar, which allowed to build the office map and made a foundation for future experiments. We reached this goal with ROS.org and mapped a few corridors and rooms in our office at the end of the hackathon. Now we’re almost ready to conquer Mars :D
Quak Liero-like Game
 Quak is a PvP platform game inspired by Liero or Soldat. We used a mix of Kotlin, libGDX and box2d (physics) to build a good-looking 2D game in less than 2 days. Destructible level as a mesh of boxes are generated from provided png layers. Additionally, we implemented some extras to diversify the player experience, such as multiple weapons, double jump, blood effects and explosions.
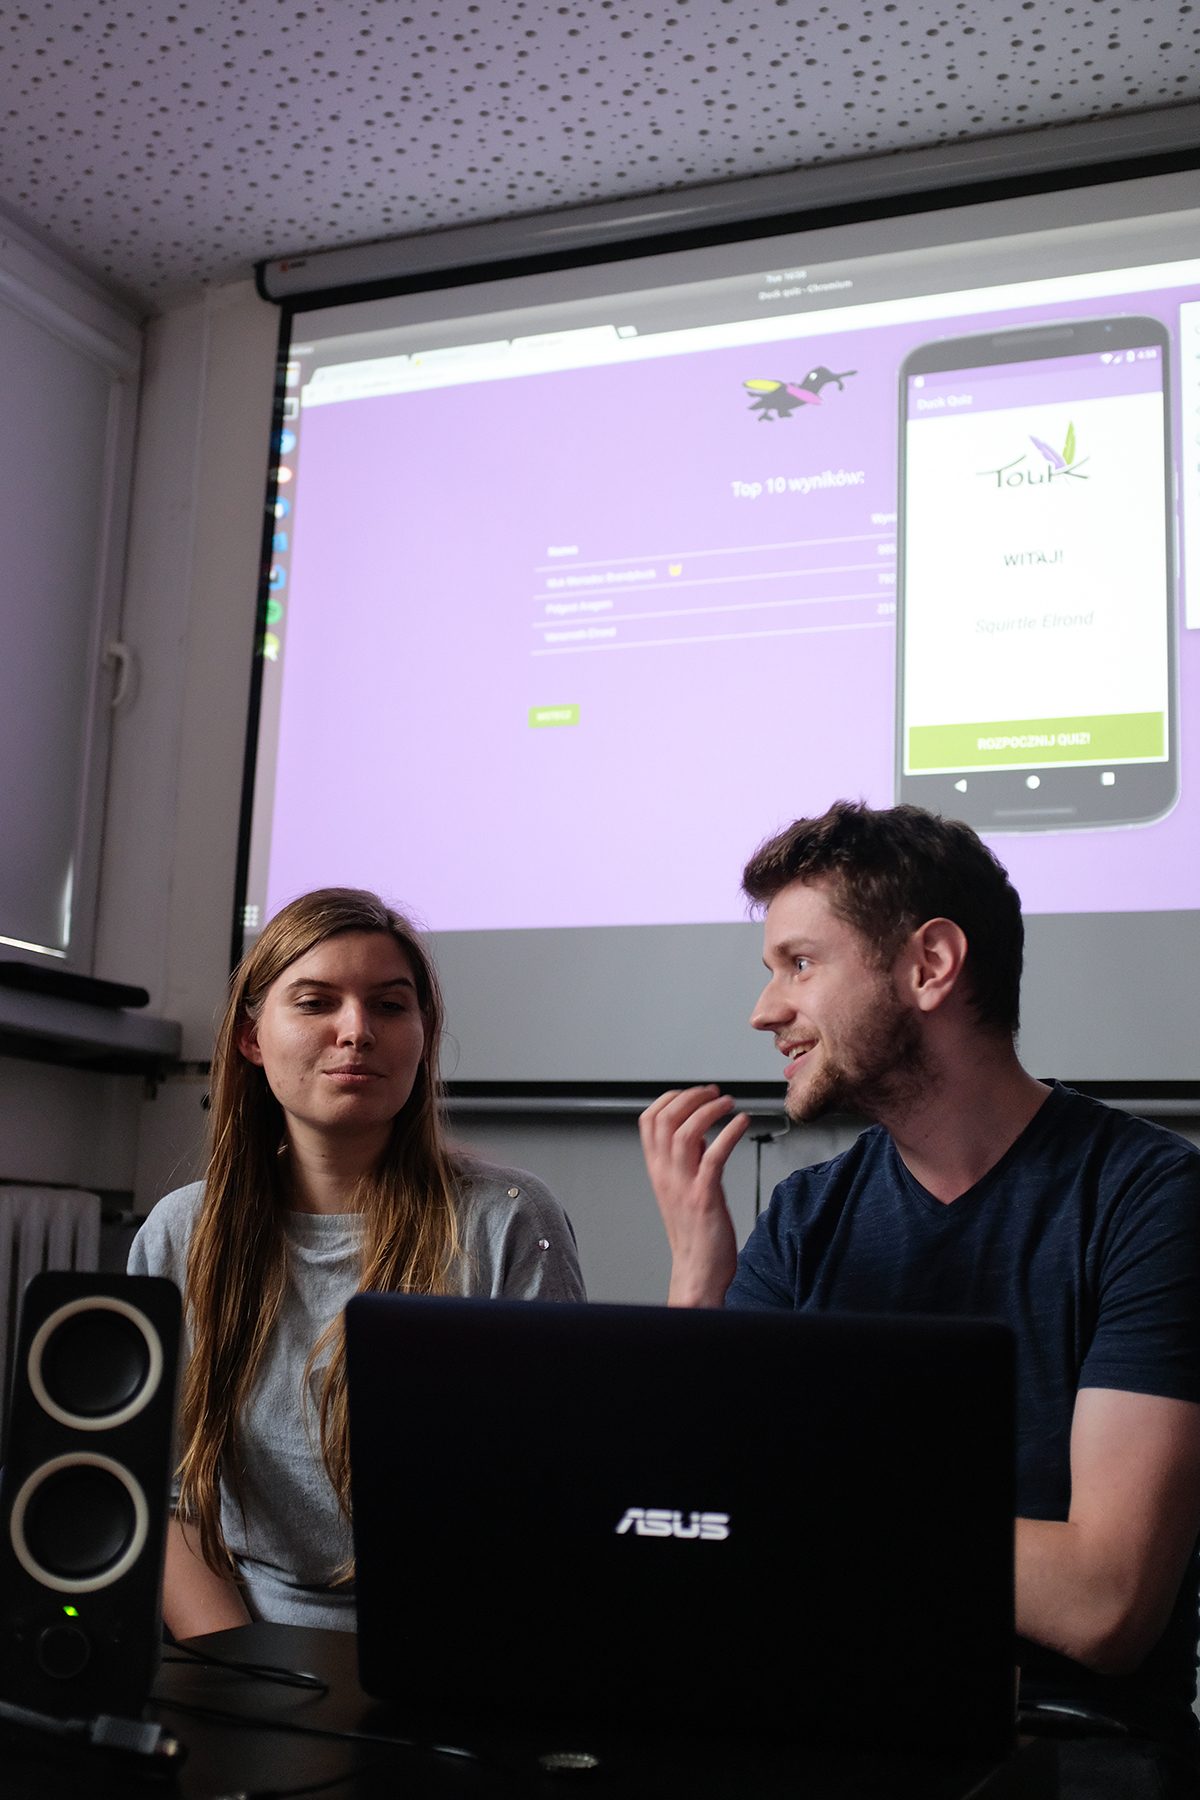
Quiz Game
 DuckQuiz is a game we wanted to use at public event, e.g. conferences. It’s a little bit similar to the legendary Flappy Bird. Your goal is to make the title hero – a duck – go as far as possible! Correct answers give the duck a bump, so the more questions you answer correctly, the further the duck will go. Be careful, though! Three wrong answers will make a brick fall on the duck’s head! To spice things up a little, we decided to introduce a score threshold, which – once achieved – guaranteed a prize. Plus, of course, if you beat the highest score, you will make history as the reigning champion Duck Flyer. The quiz application is written in Kotlin for Android. We used RxJava and Retrofit for communication with the server. For the back-end side, we chose SpringBoot along with Kotlin. There is also a web-based “Hall of Fame” panel and a simple CMS which allows the management of the quiz questions, written in ReactJS.
Own Card Authorization system
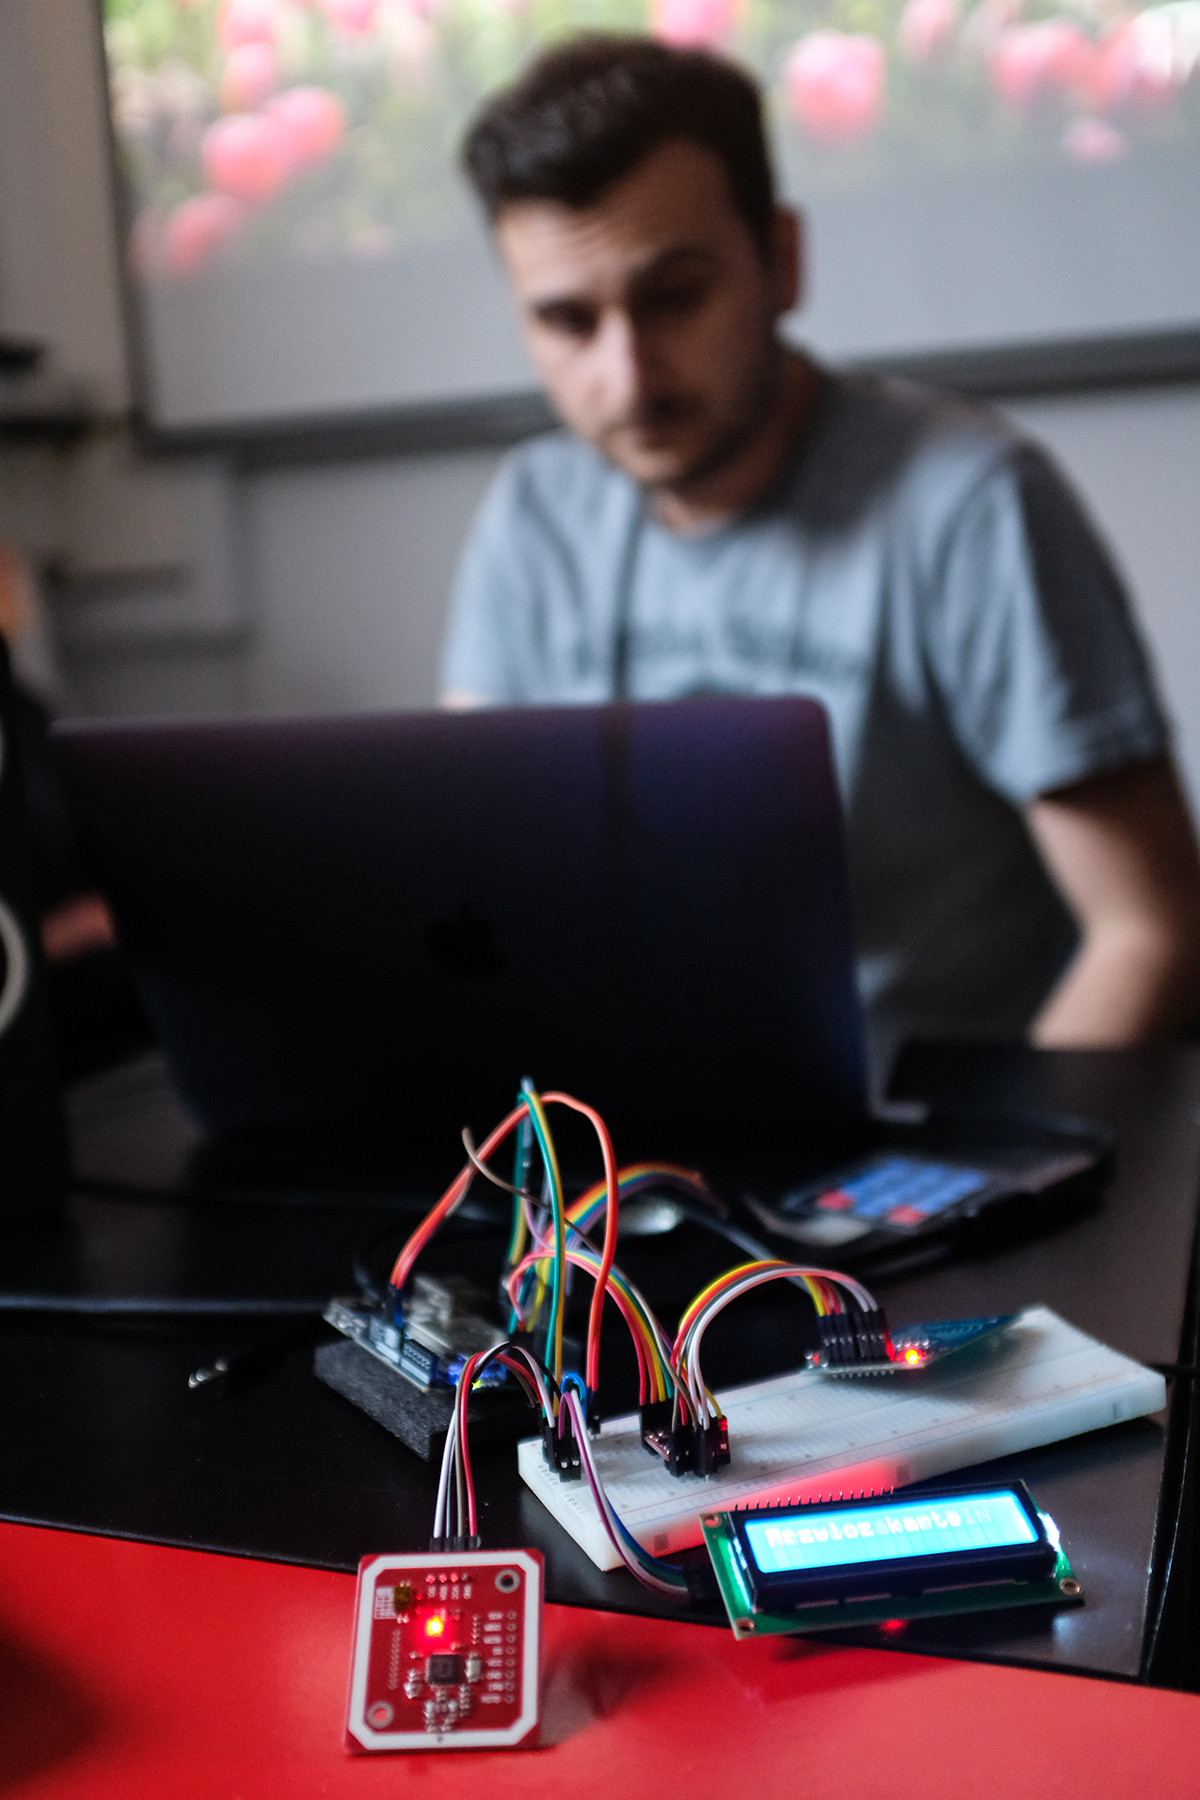 We’re waiting for our private brand new vending machine which we’re going to use for distribution of snacks in Touk. We’ve noticed that we can communicate with it using MDB protocol. We’d like to authenticate in the machine with RFID cards which are commonly used in TouK to open doors. As a first step, we wanted to create authorization system based on RFID cards, but with additional PIN verification part added. Our system should be integrated with internal LDAP. We’ve separated our project into 4 modules: backend (spring boot), web frontend (scalajs-react), mobile app (android) and hardware device (arduino yun). Backend part connects all modules and allows matching RFID cards UID with LDAP logins. Web frontend is designed for users to set and manage their PINs. The mobile app at the moment is dedicated for our administrator to make pairing existing cards with LDAP logins easier. Finally, hardware device was created to read data from card, get PIN from user and check if PIN is correct (via backend). In the next step, we’d like to integrate our system with mentioned vending machine and make payments using it. There is also a plan to enhance mobile app and use it as mobile payment terminal and integrate web UI with Touk SelfCare system.
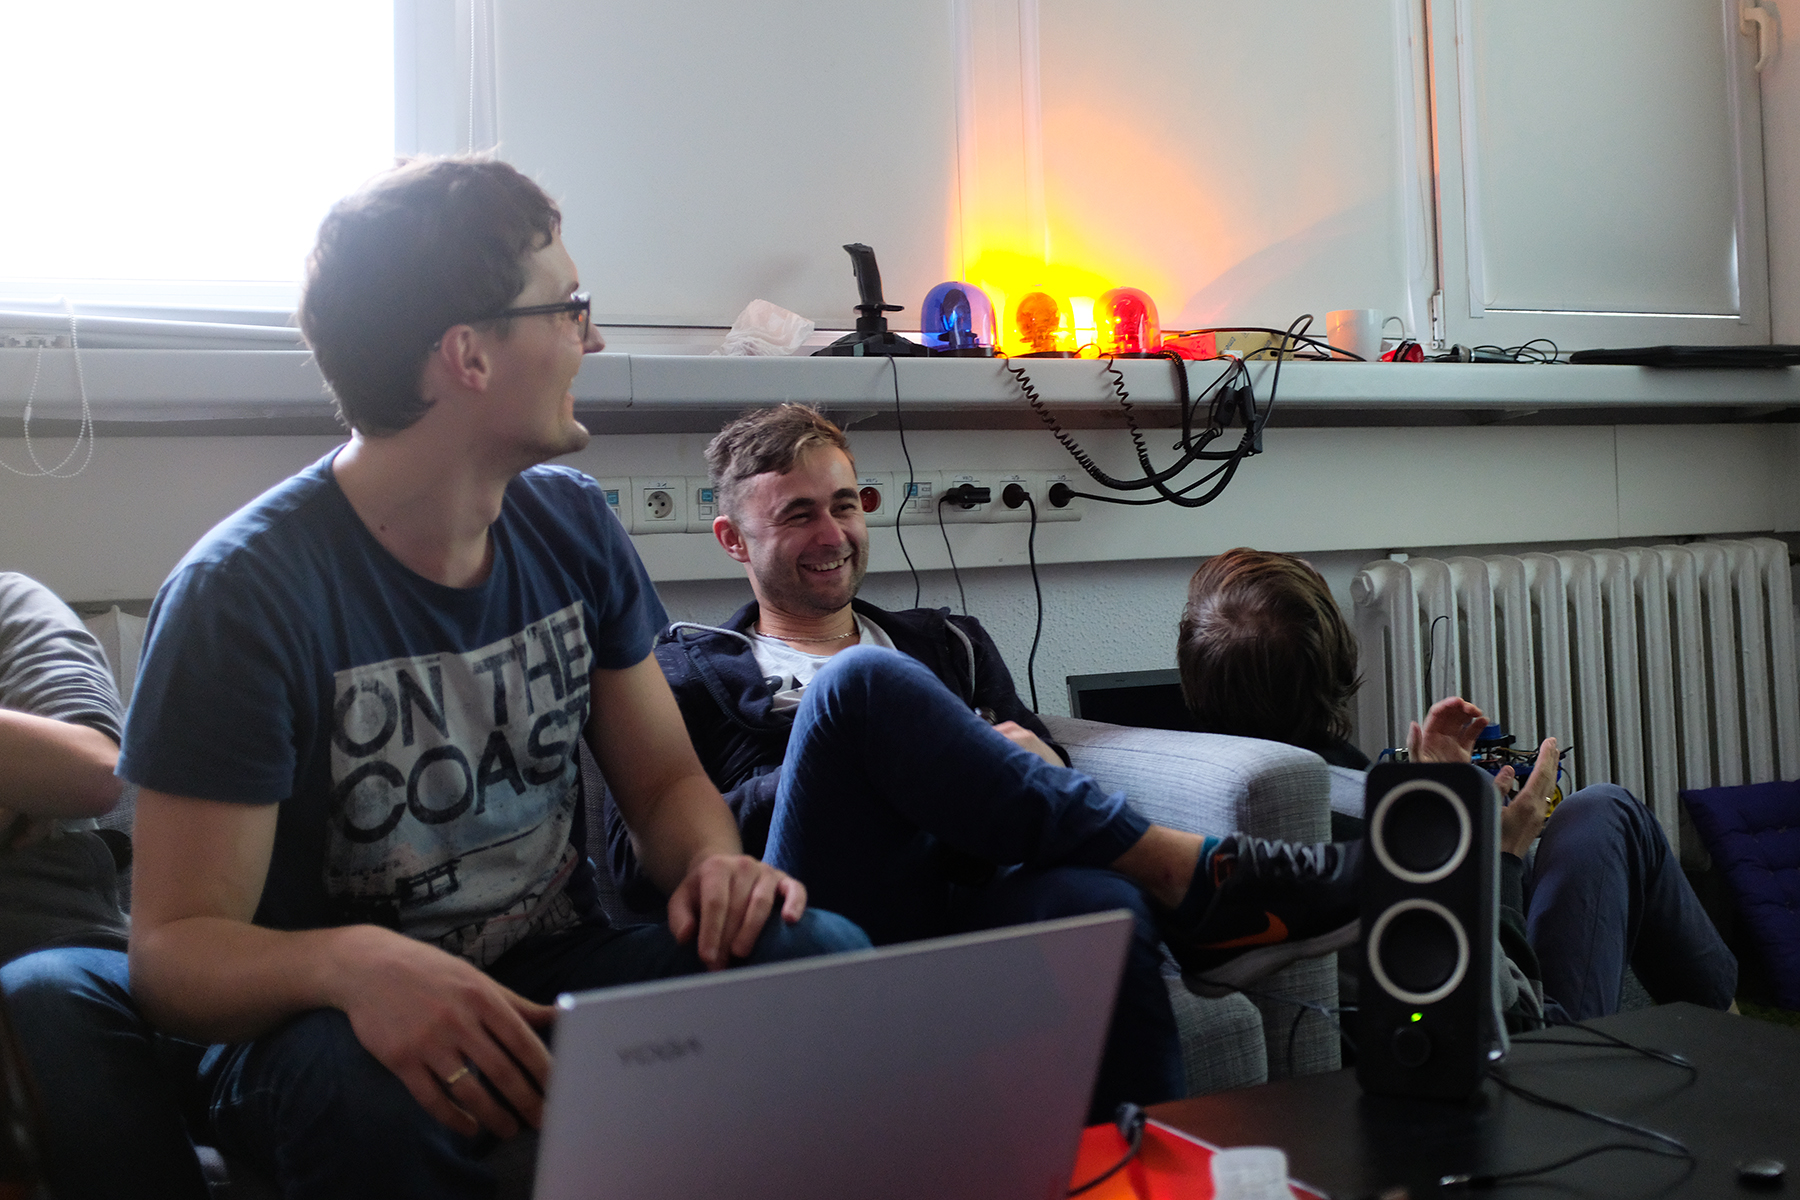
Notification lights
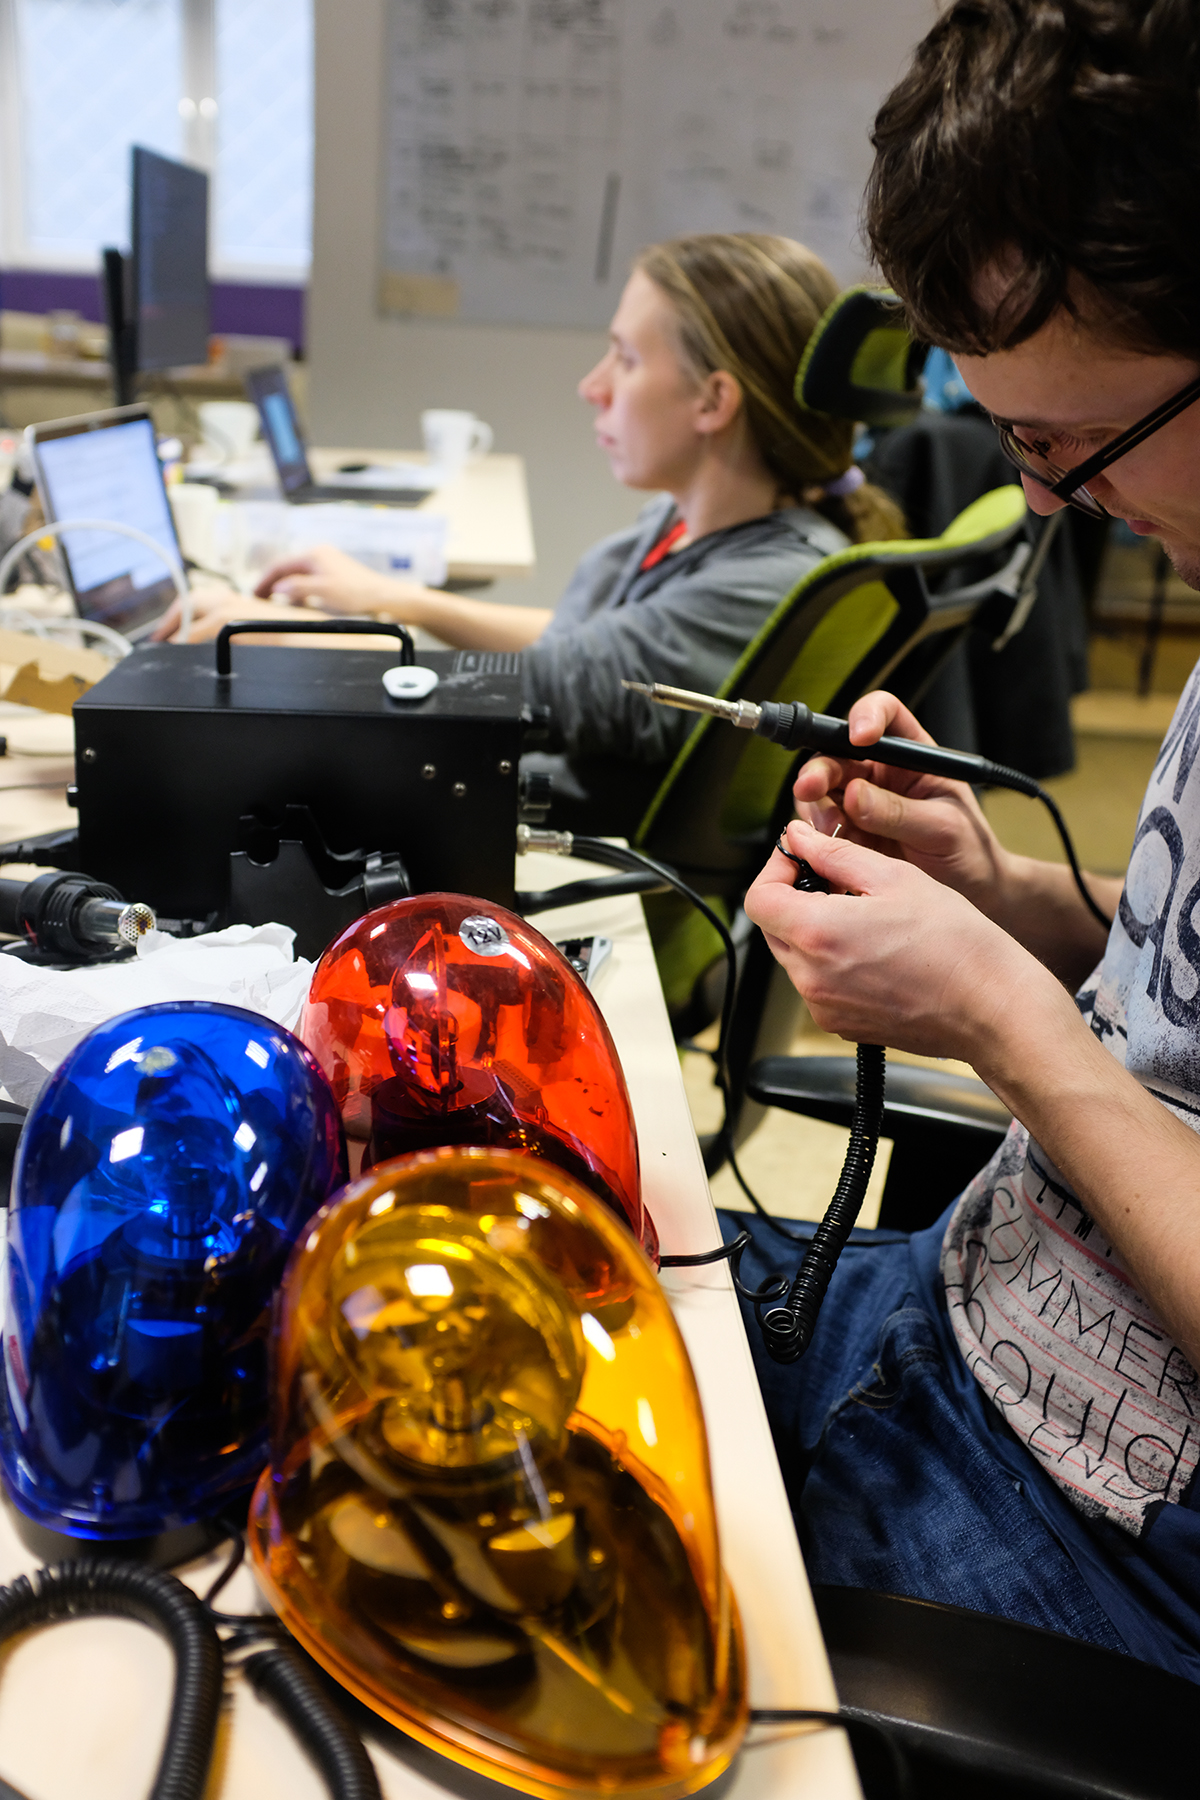 Three suites (3 lights in red, yellow and blue) controlled by Raspberry Pi Zero W communicating with the managing service via MQTT protocol. The service handles messages from Rocket’s (our chat) outgoing web hooks and notifications from GitLab (e.g. opened merge requests).
Team gathering app (e.g. for football matches)
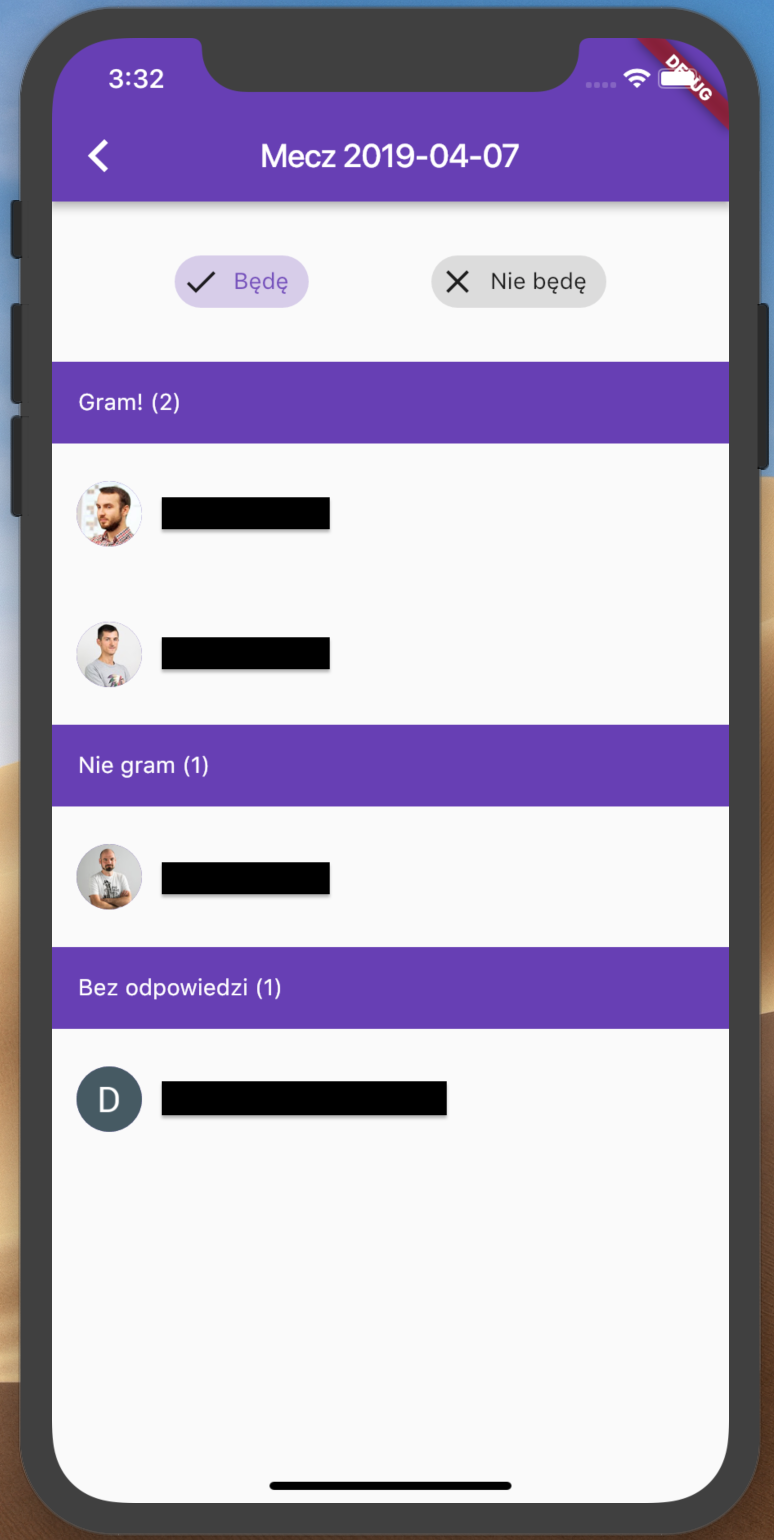 We regularly play football and volleyball after work, but we sometimes struggle with completing the teams. So far, we used a sign-up system based on Confluence pages, which is not mobile-friendly. We also wanted to allow registration for “reserve” players from outside the company. That’s why we built a simple mobile app with a sign-up form, game history and basic player ranking. The app was built with Dart using the Flutter framework and Firebase for storage and authorization.
Internal time reporting API
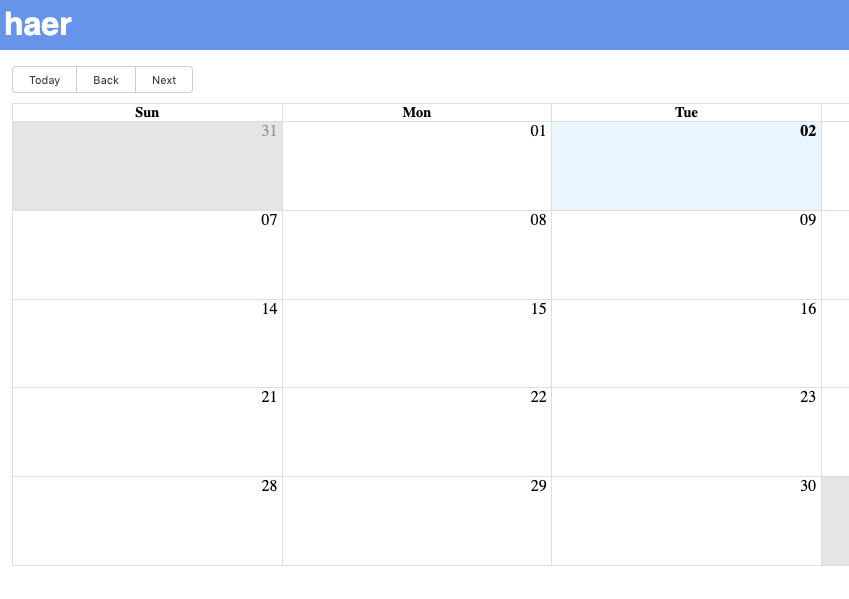 This HR project’s goal was to integrate and simplify the way we log time in our company. We’ve achieved that with a Google Calendar-like GUI and multiple microservices written in TypeScript, Python, Java and Scala!
The Grand Finale
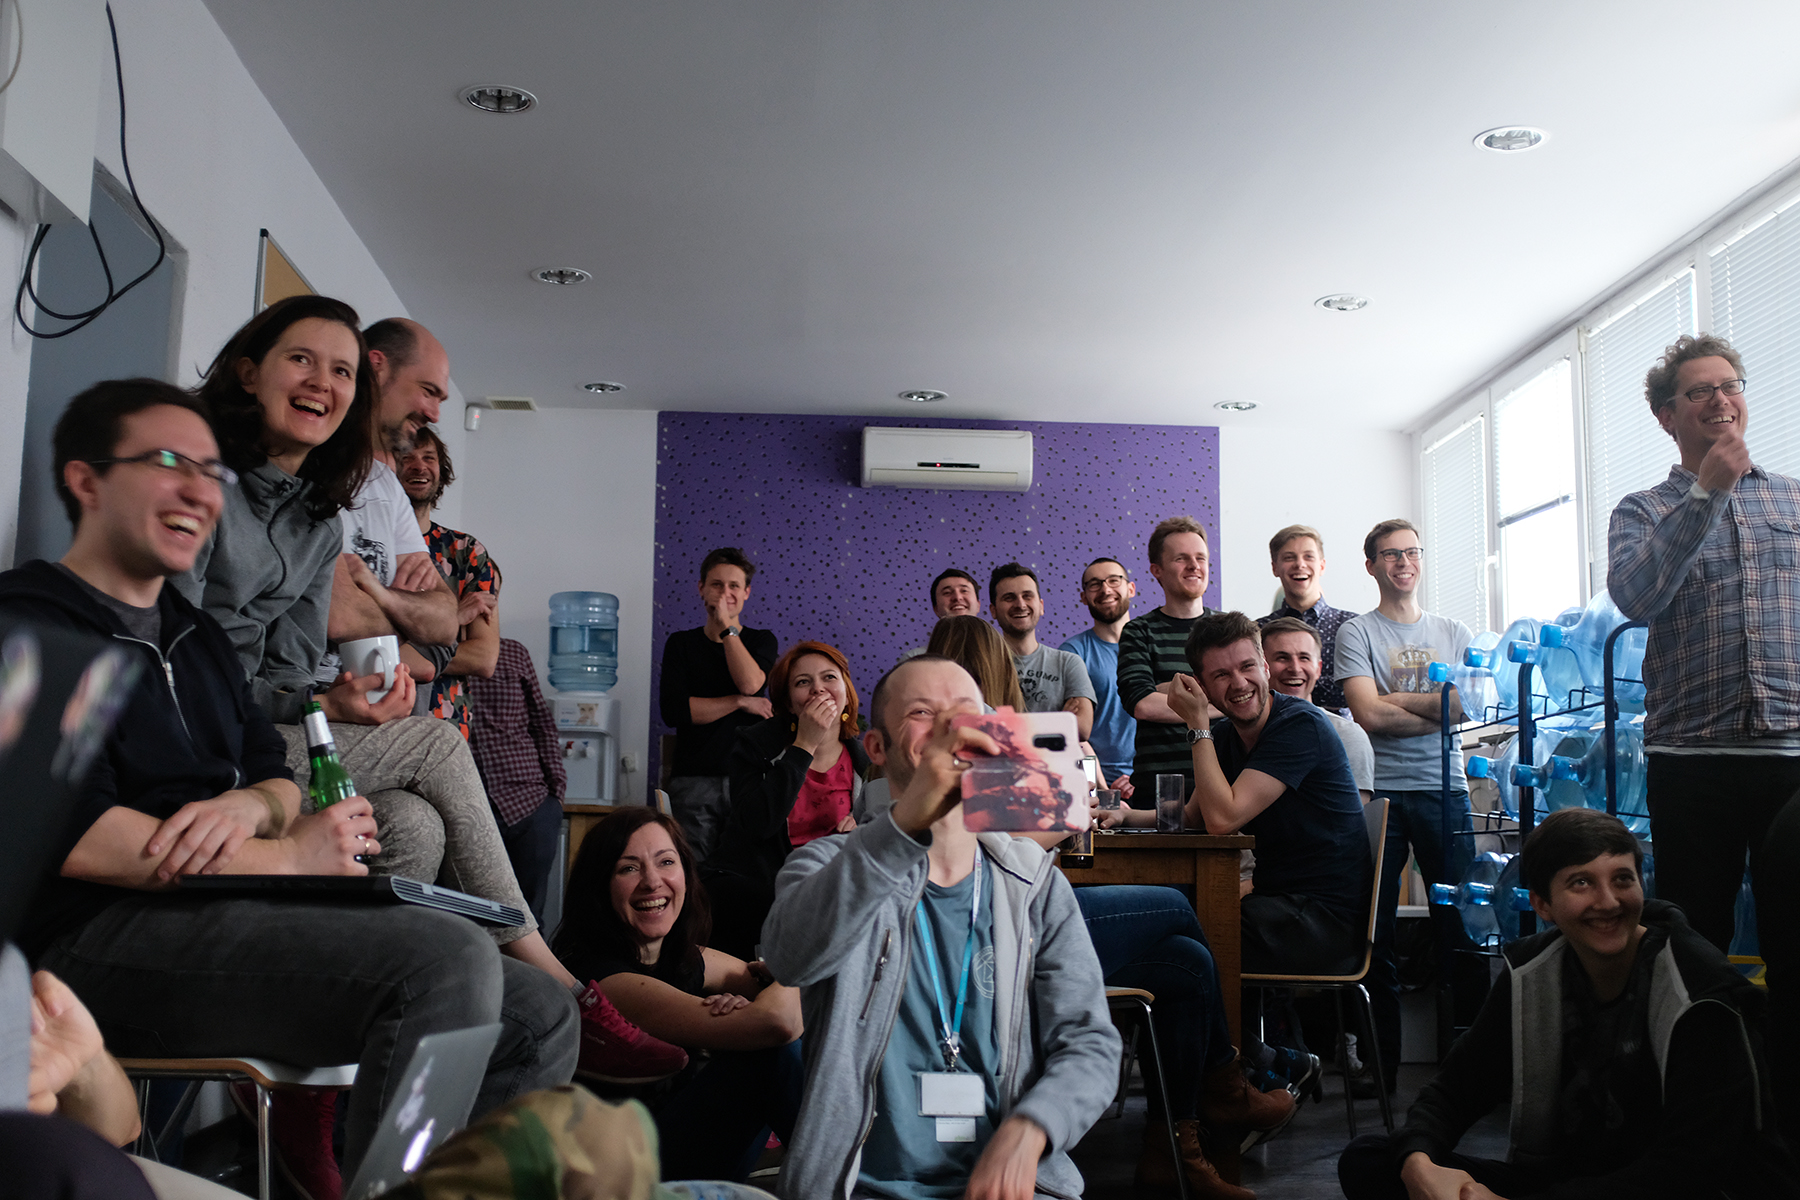 At the end of “Ship IT!”, the teams had demonstrated the effects of their work. They shared some successes and other stories :) about the used software and hardware and the lessons learned during those two intensive days. The audience were amused when the robot started to explore the room. The Quak team had a bloody battle in their game. The lights were blinking when one of the team members wrote “kanapki” on our internal TouK chat.
It was very impressive that each team managed to deliver a viable result and show their projects in action. We can’t wait to run the next edition of The TouK Hackahton and hope there will be even more participants and surprising ideas to see.